Quick Tutorials
If you’re working on fisheye image processing applications, especially using the Python programming language, look no further than the Moildev Library. This tutorial is designed to give you a straightforward and comprehensive understanding of the incredible capabilities that Moildev brings to the table. So, let’s dive in and discover the exciting possibilities that await you with Moildev!
For complete reference, see the API documentation.
Import moildev library
from moildev import Moildev
Create moildev object
To create the object from Moildev, you have to provide the parameter. The camera parameter is the result from calibration camera by MOIL laboratory that will store on .json file. Bellow this is the example:
moildev = Moildev("camera_parameter_path.json")
Load Image
We start by loading an image from a specified file using the OpenCV Library. Next, we process this image using Moildev to achieve our desired results.
image = cv2.imread("Image_Path in your computer")
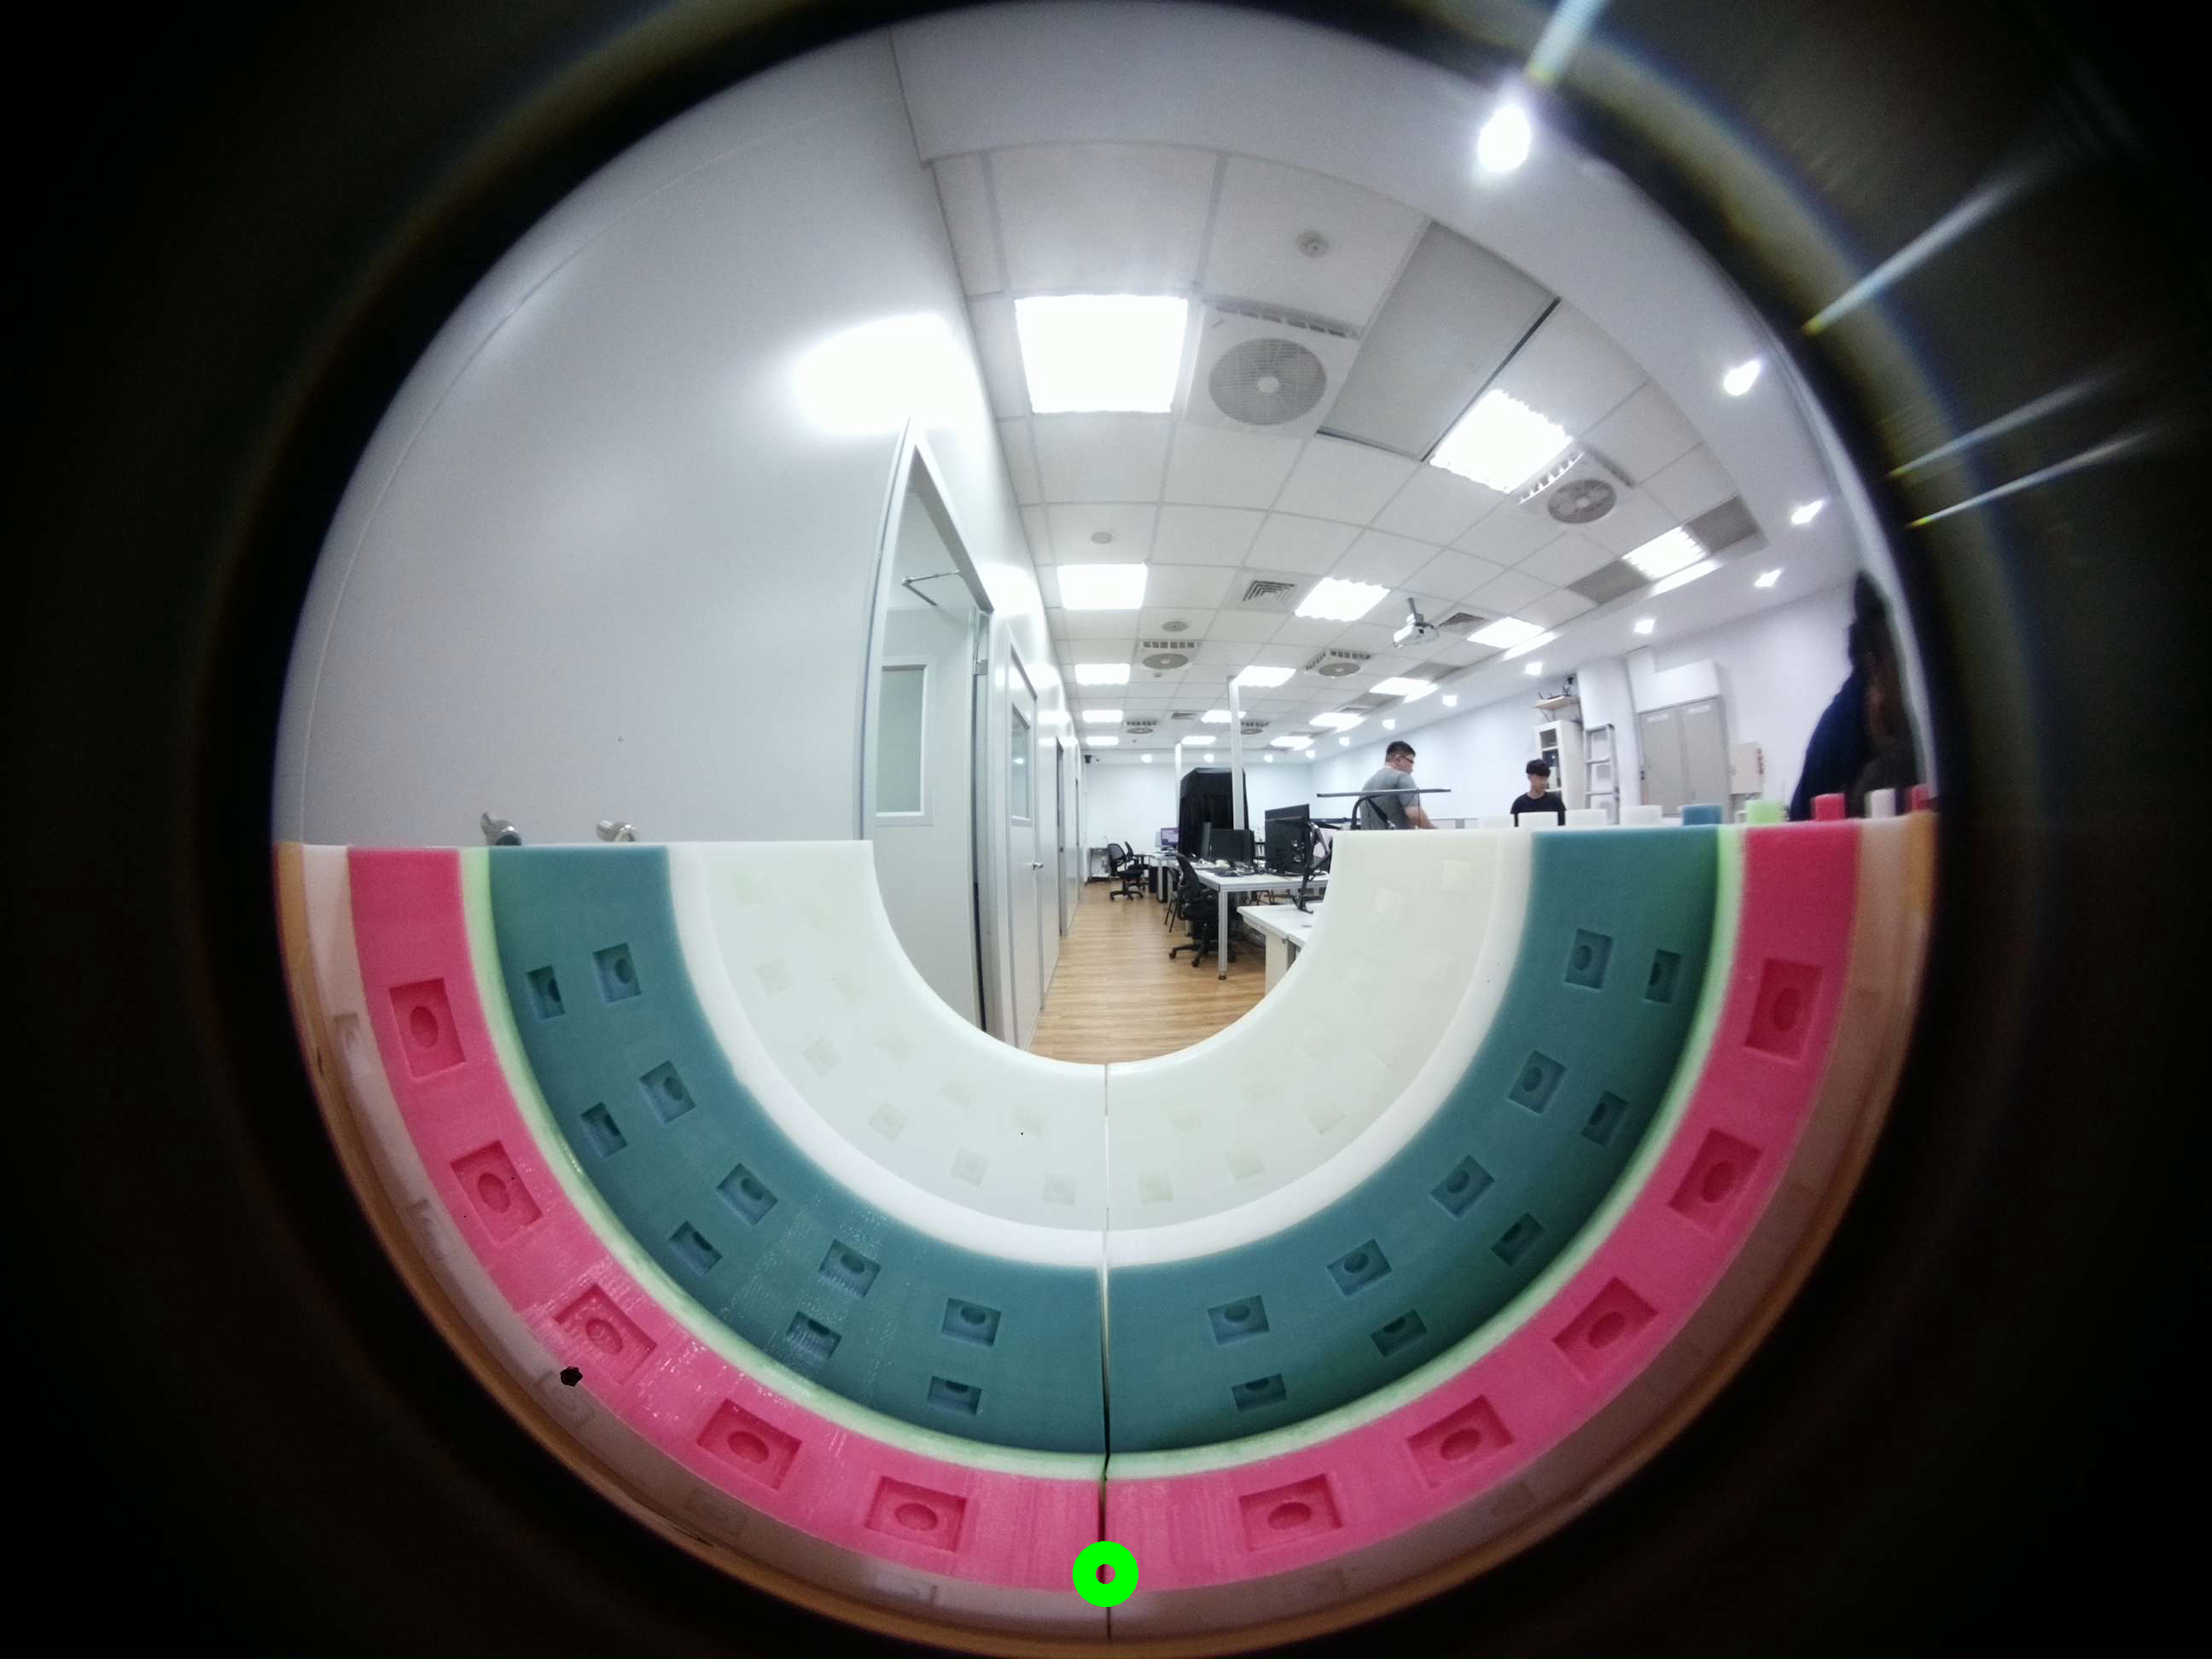
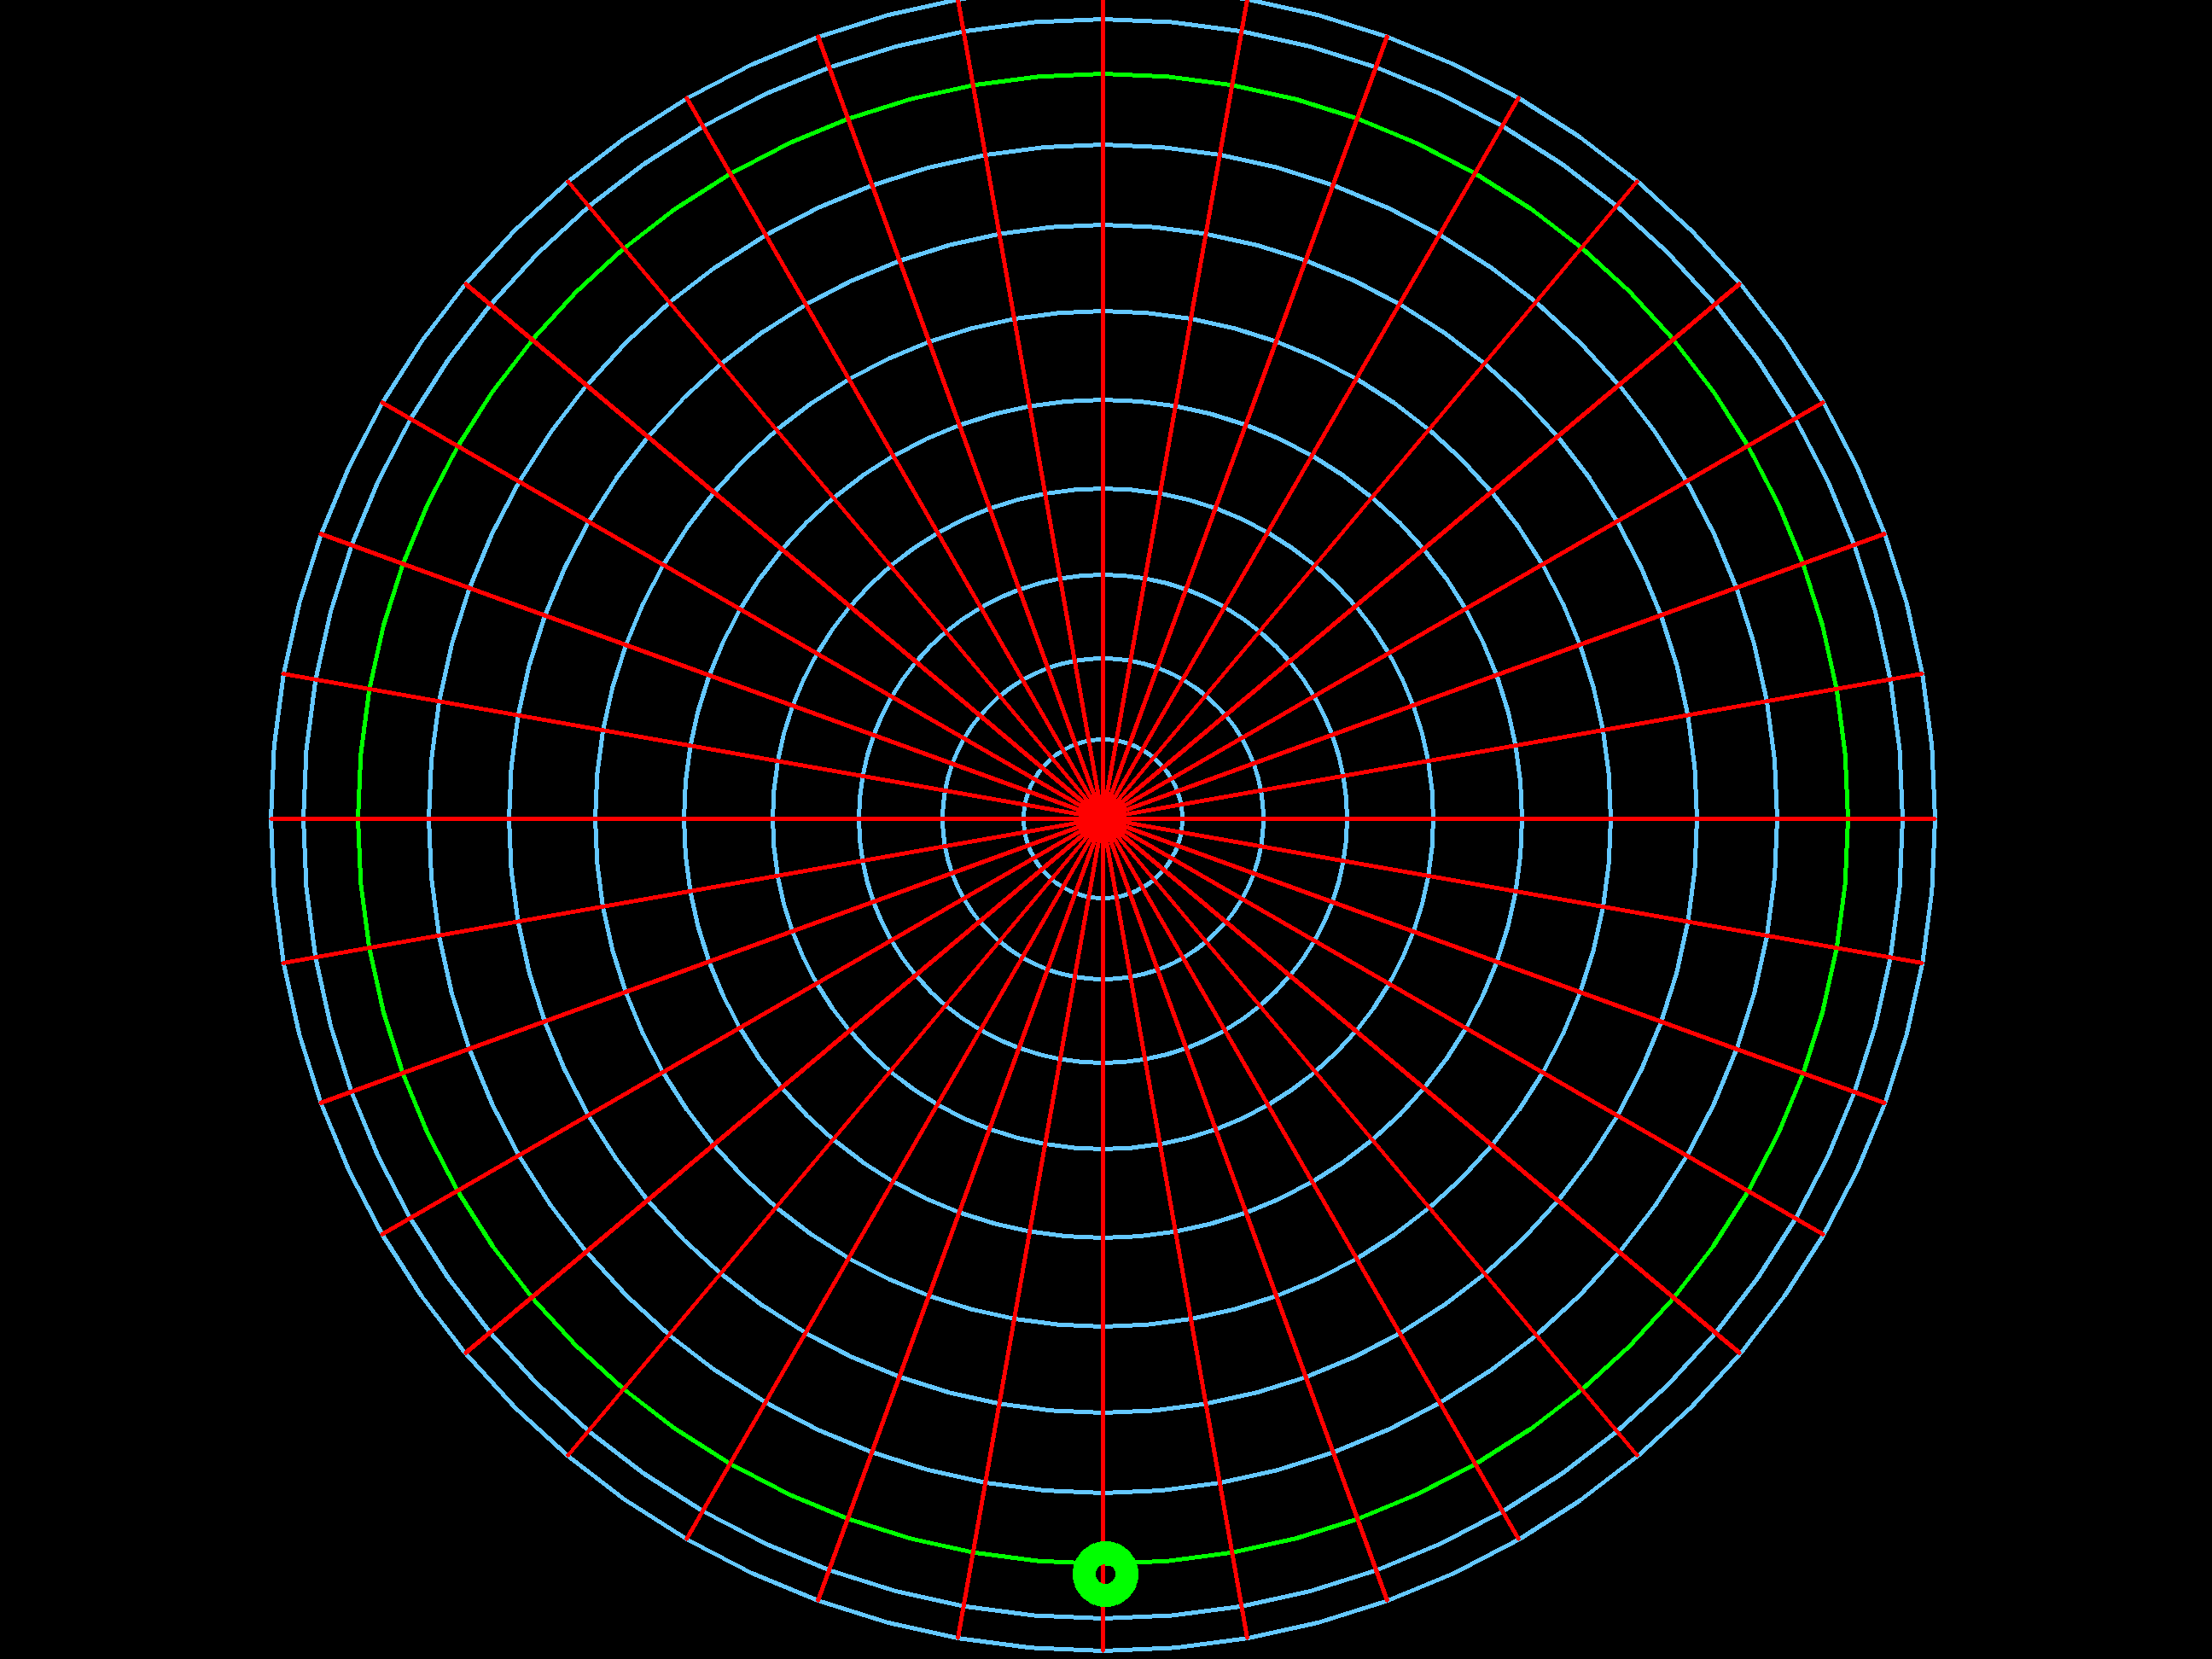
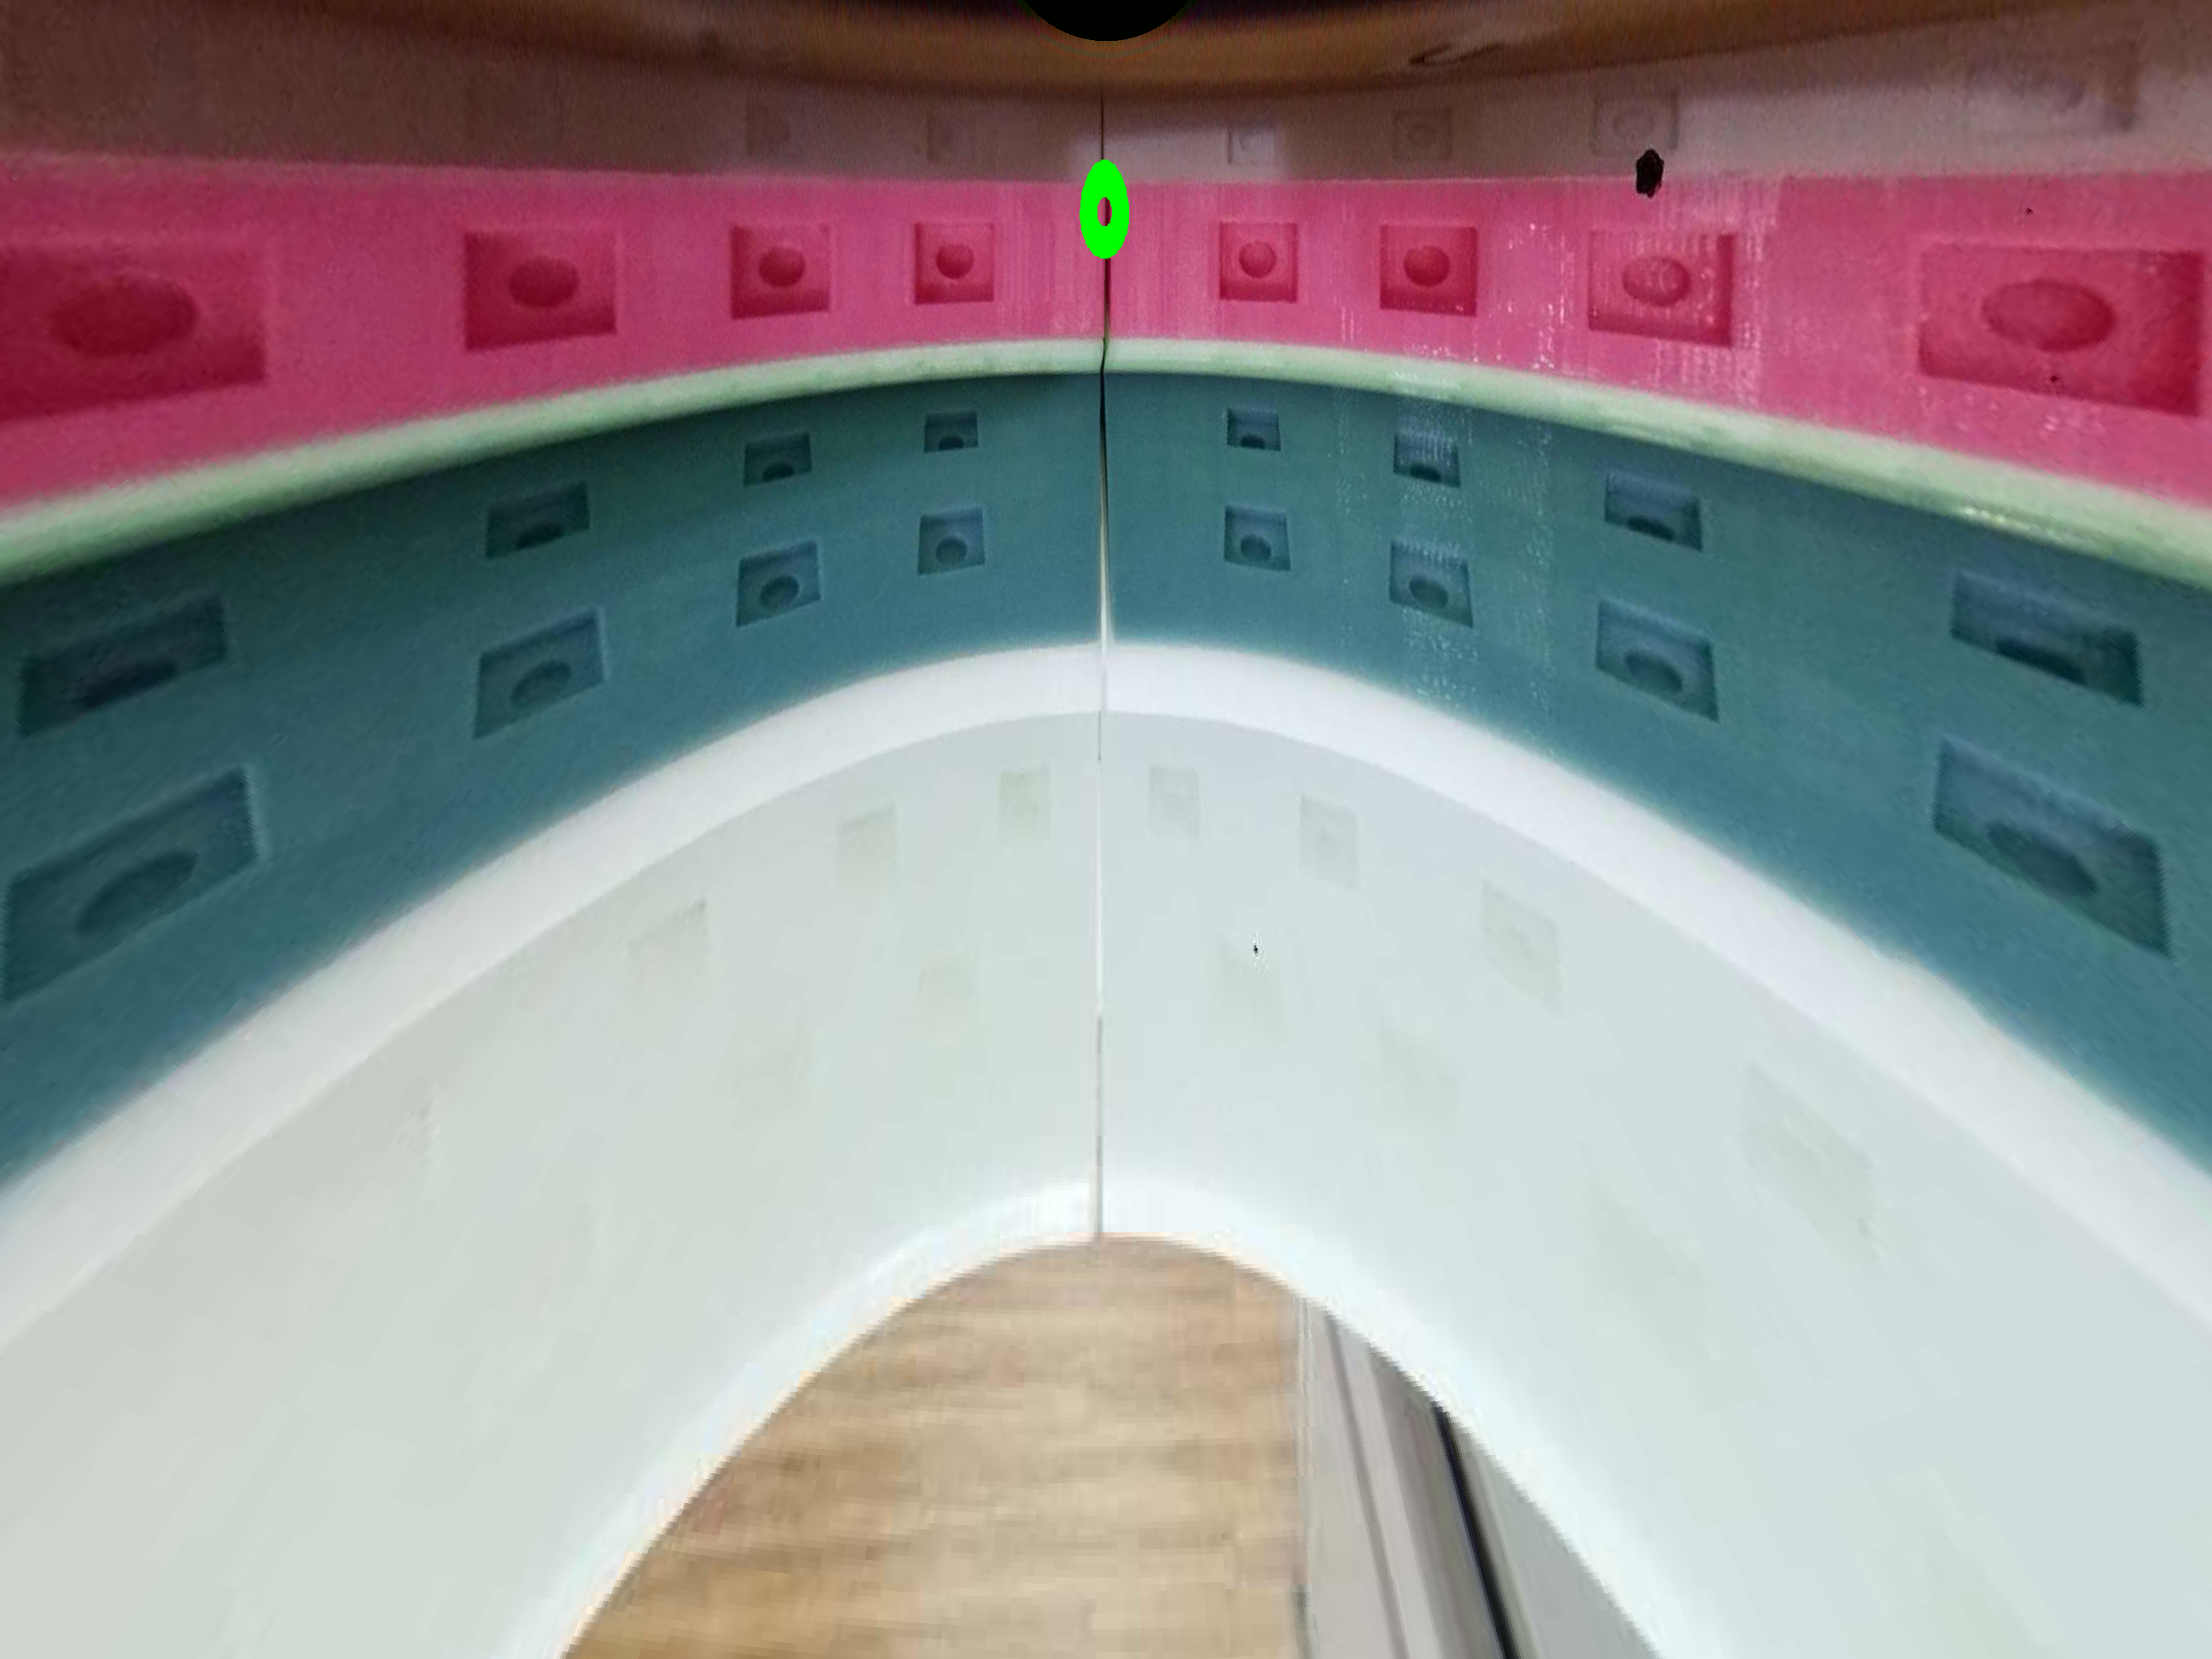
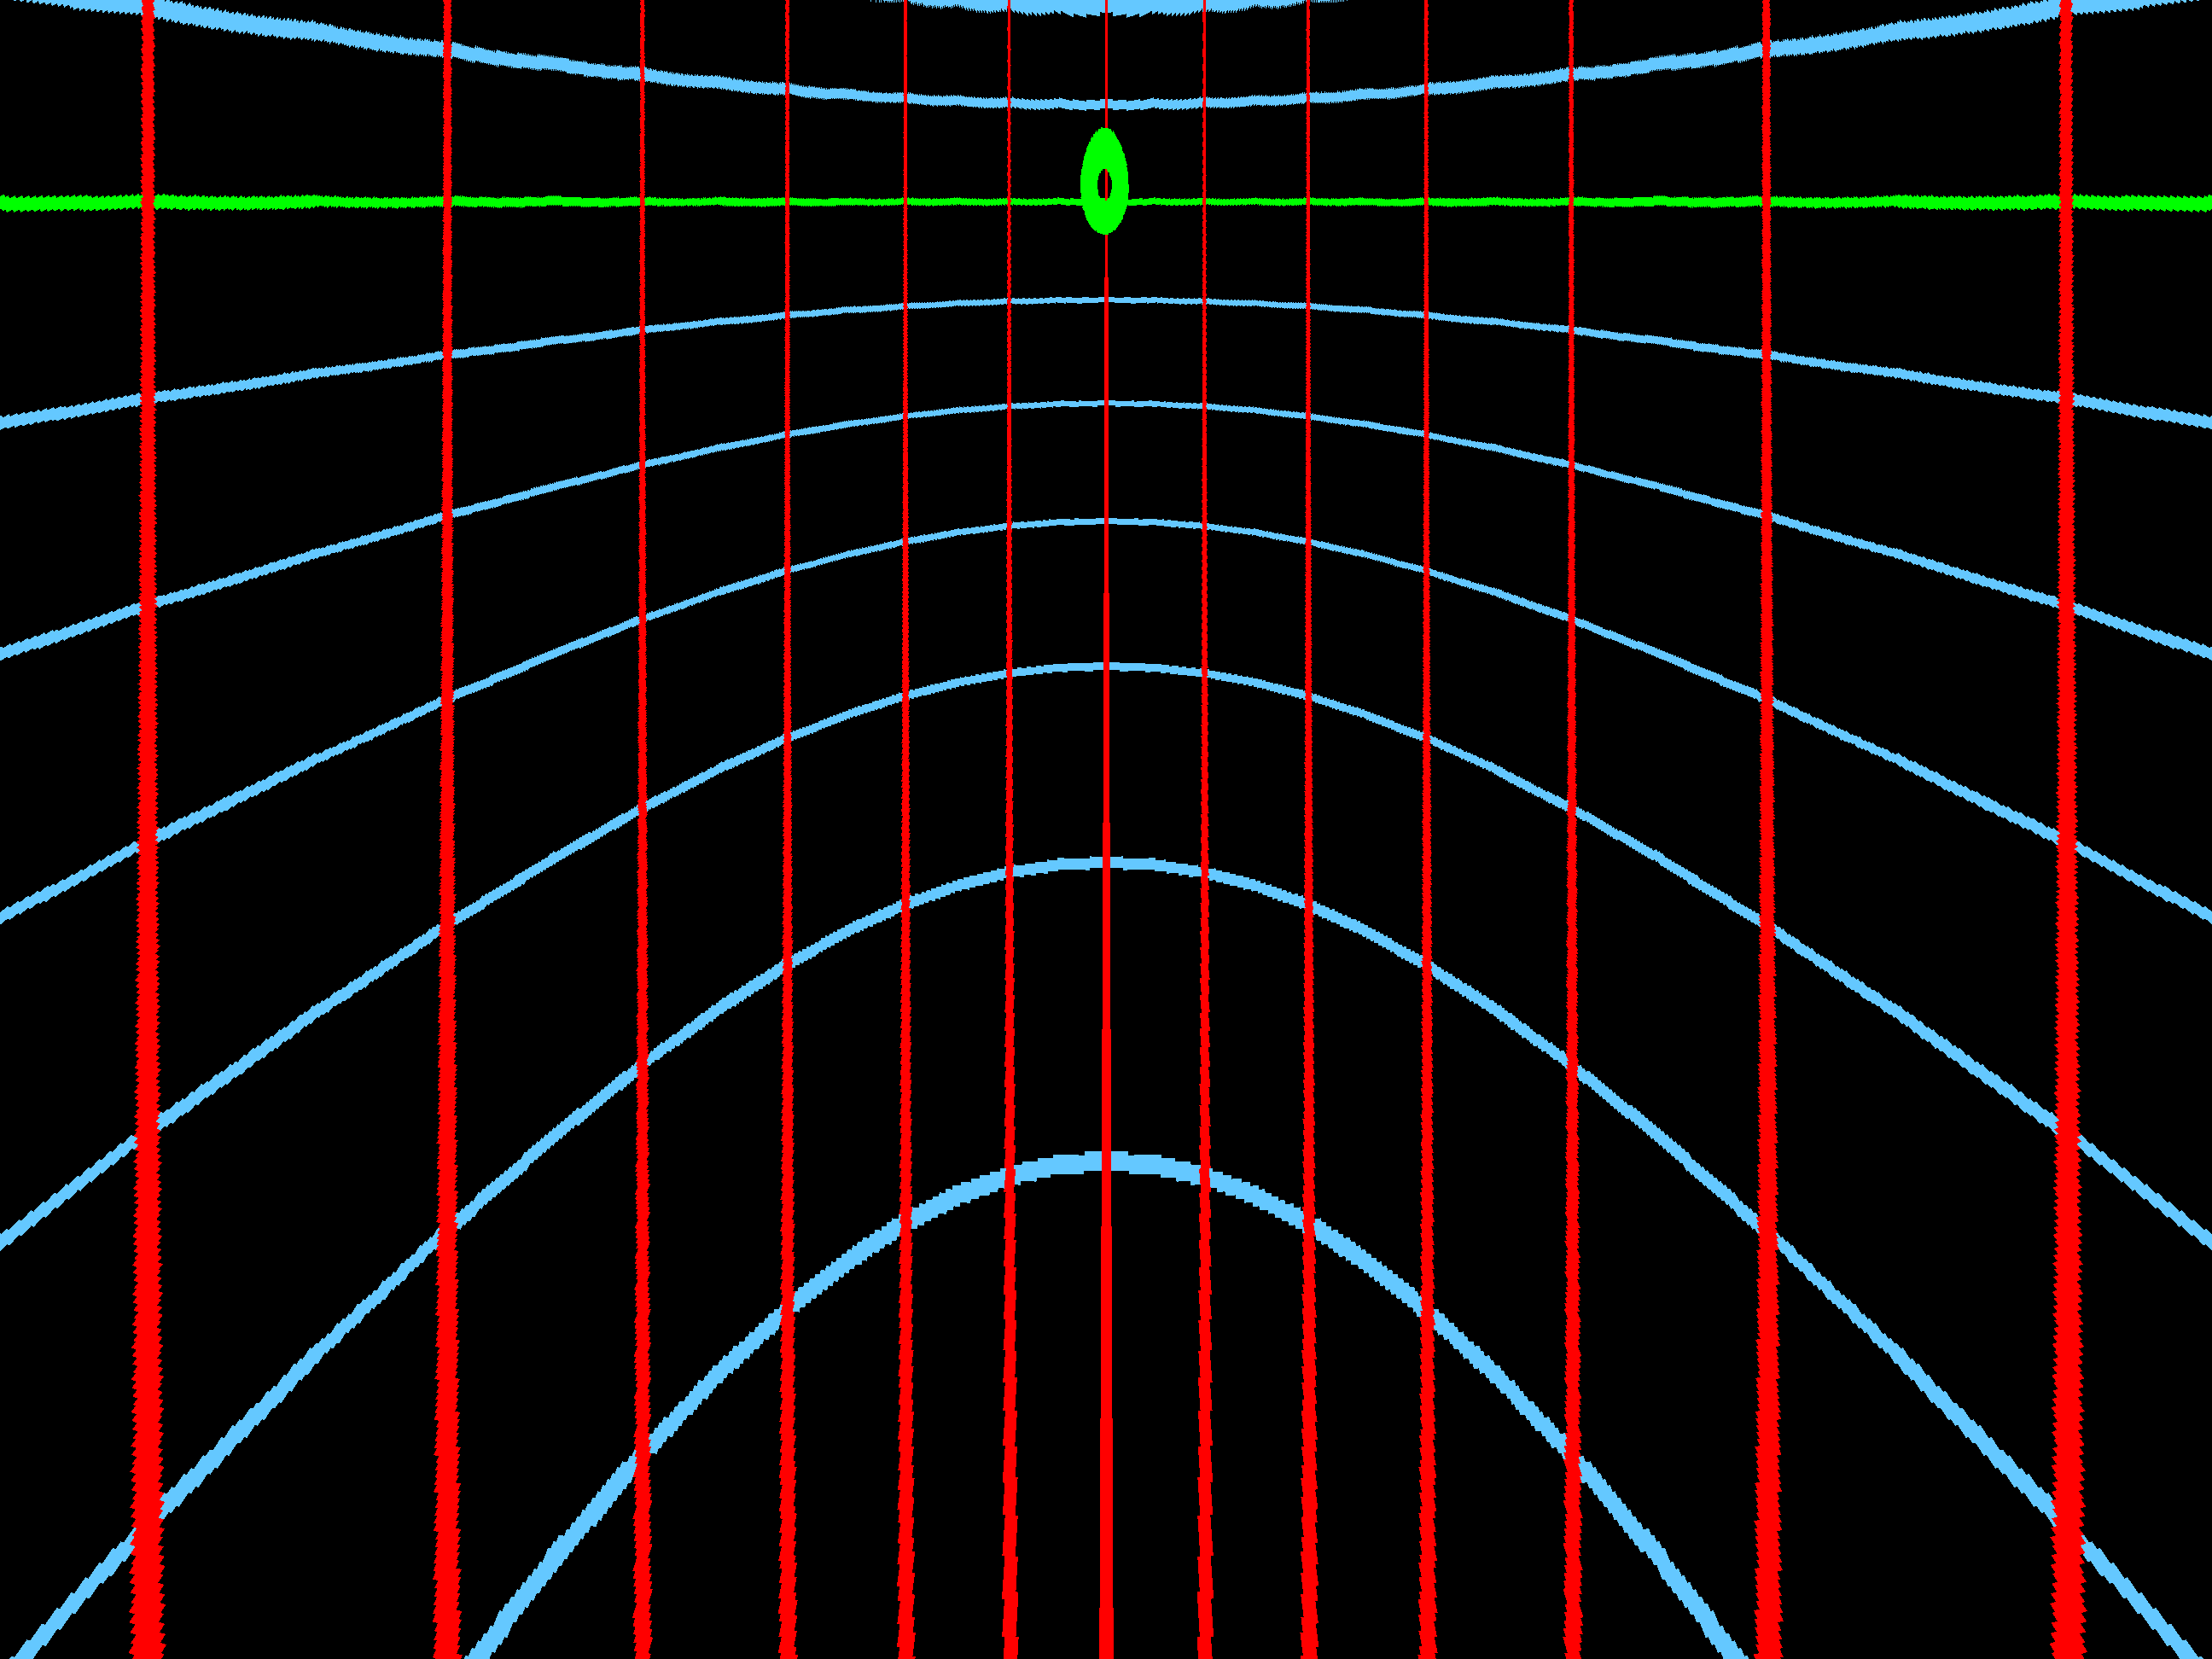
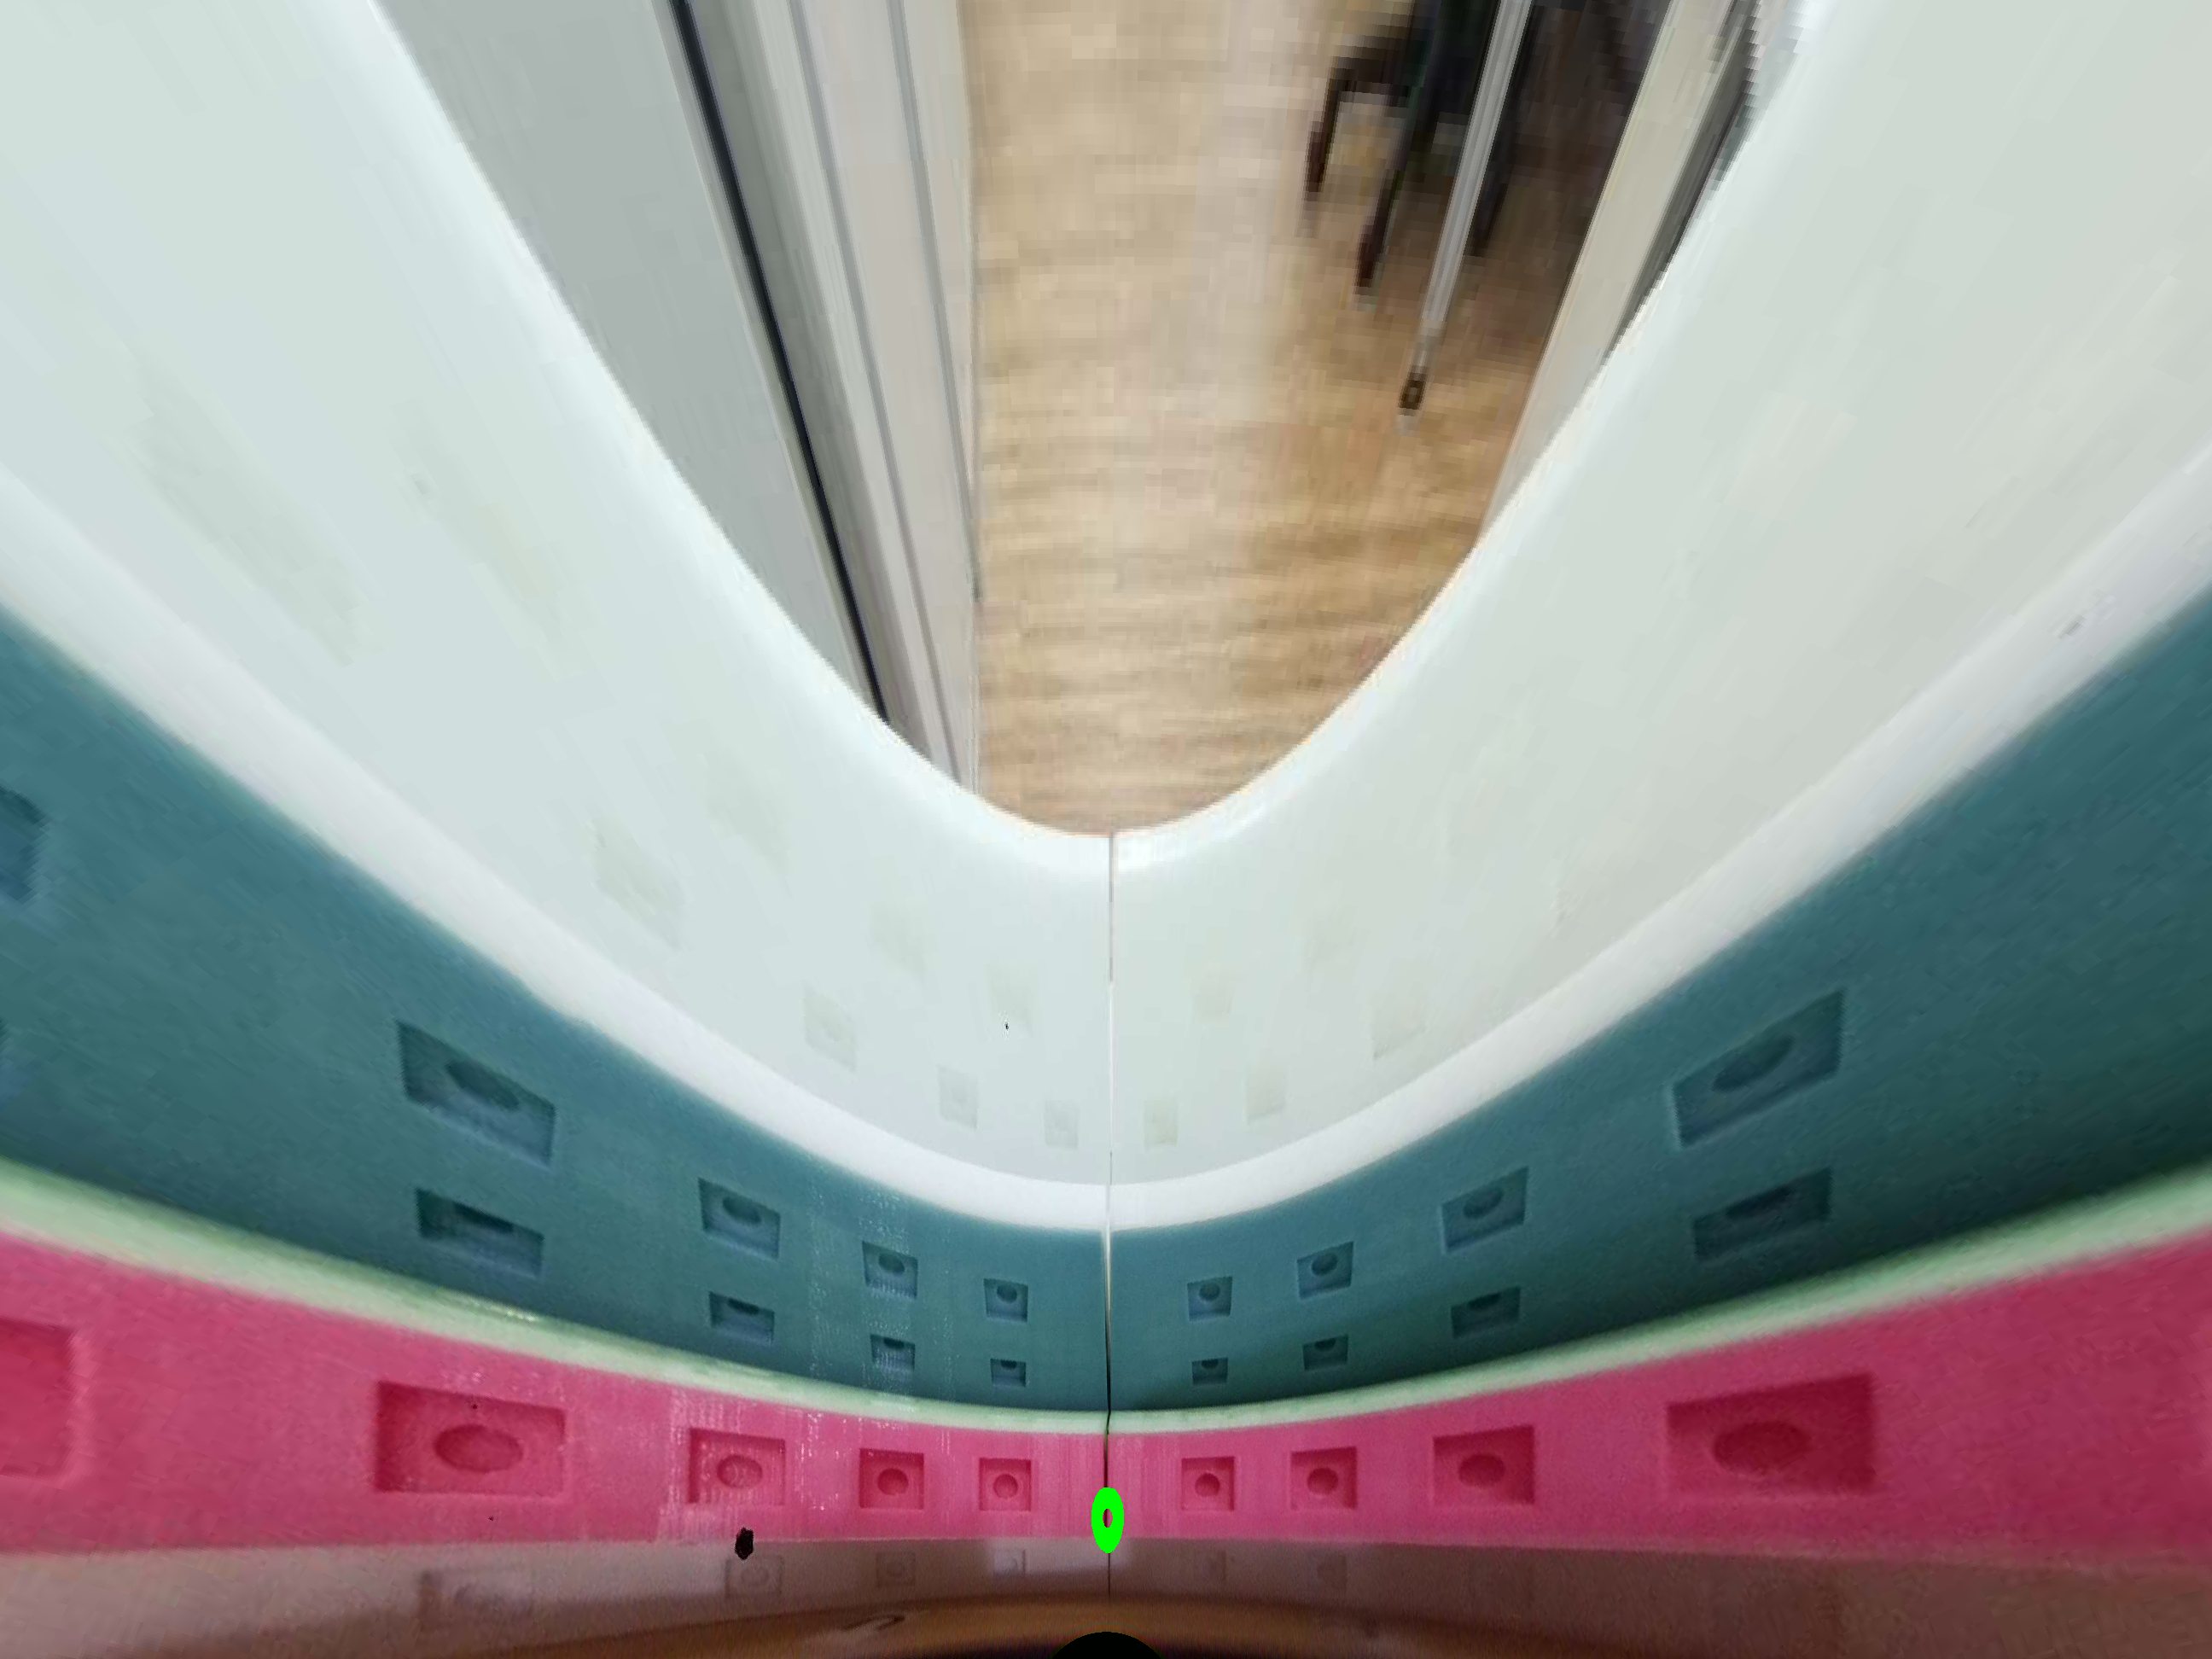
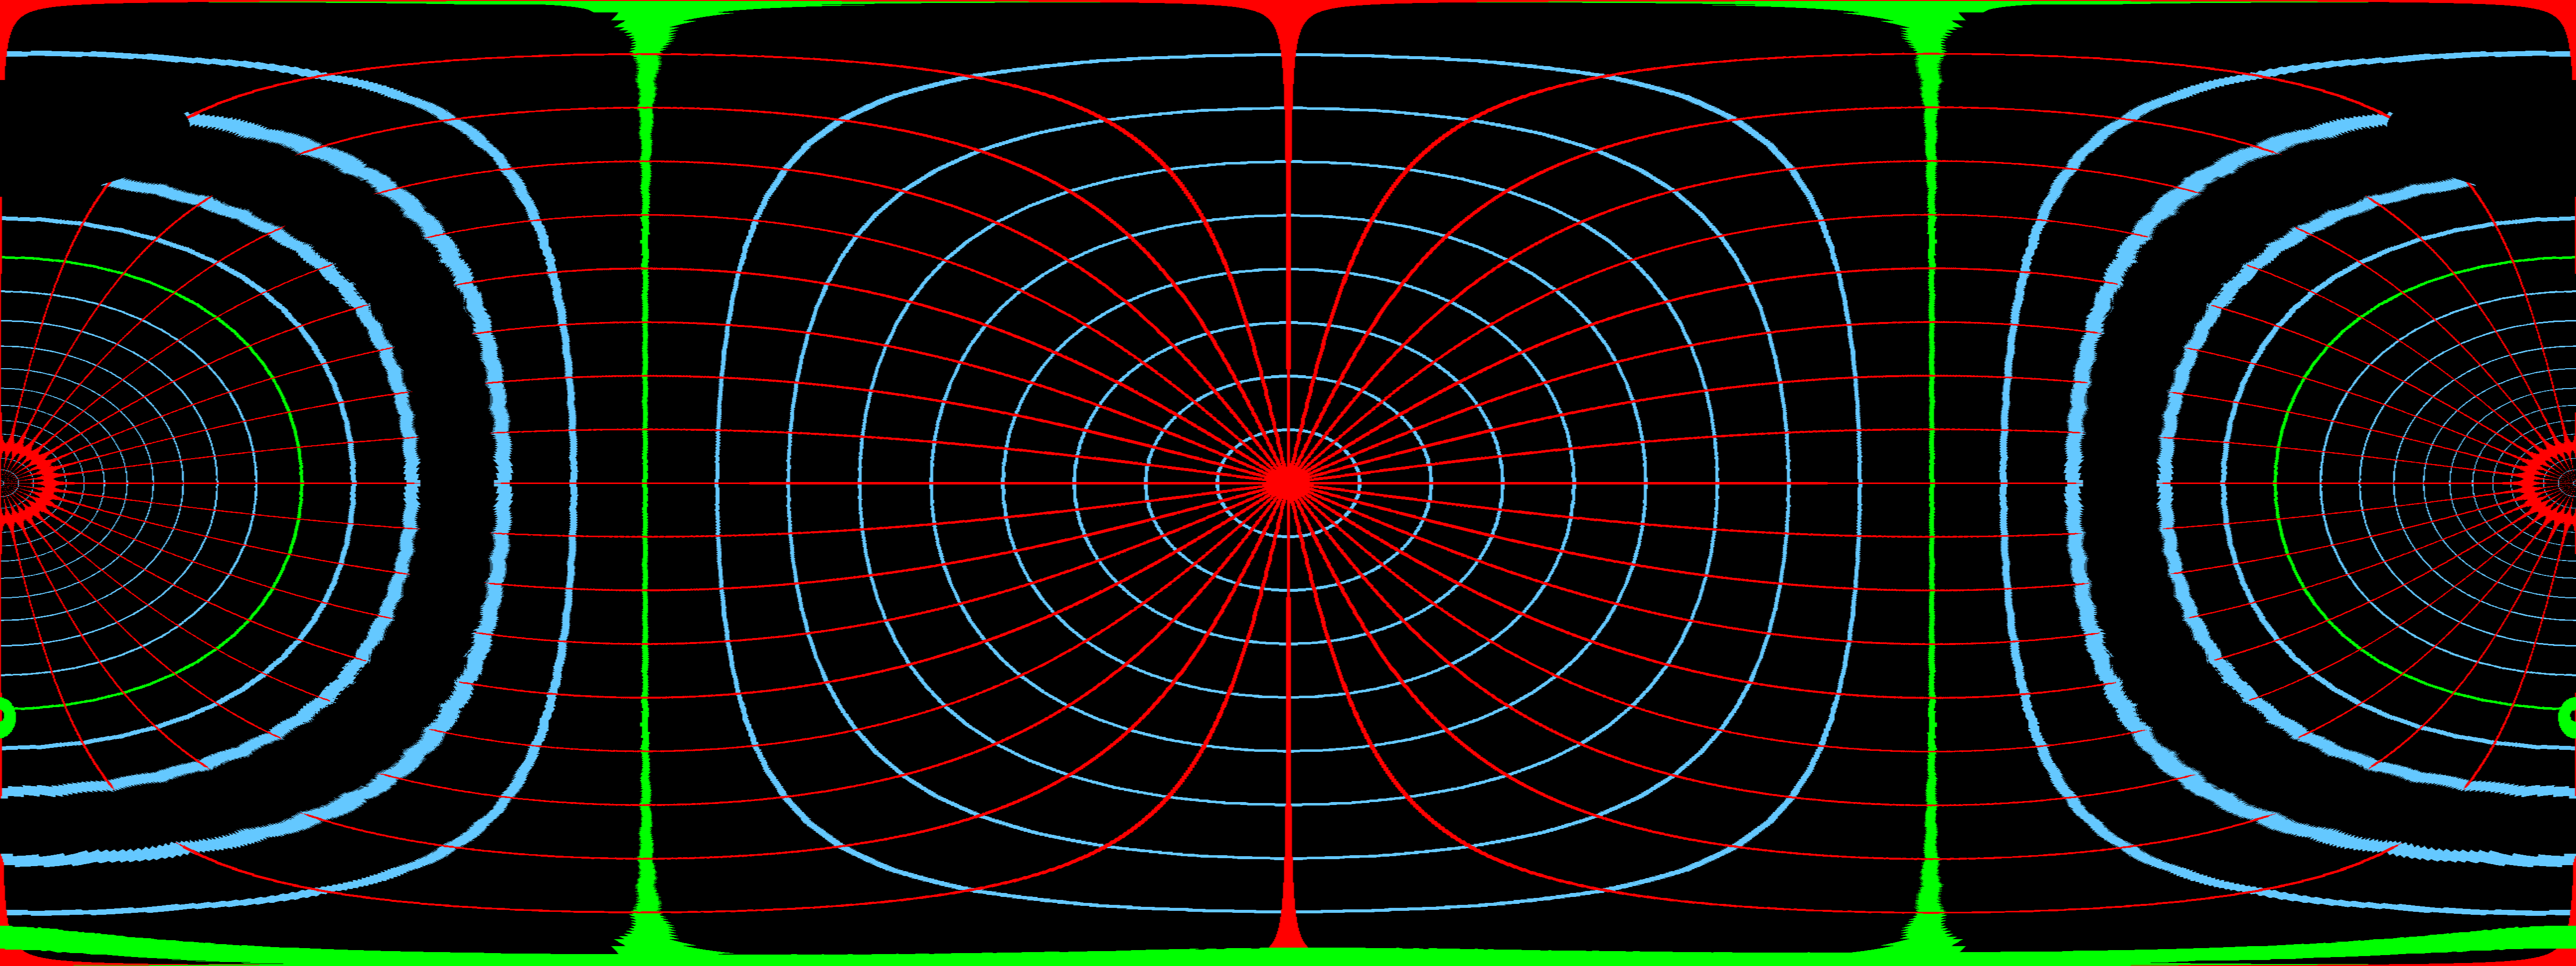
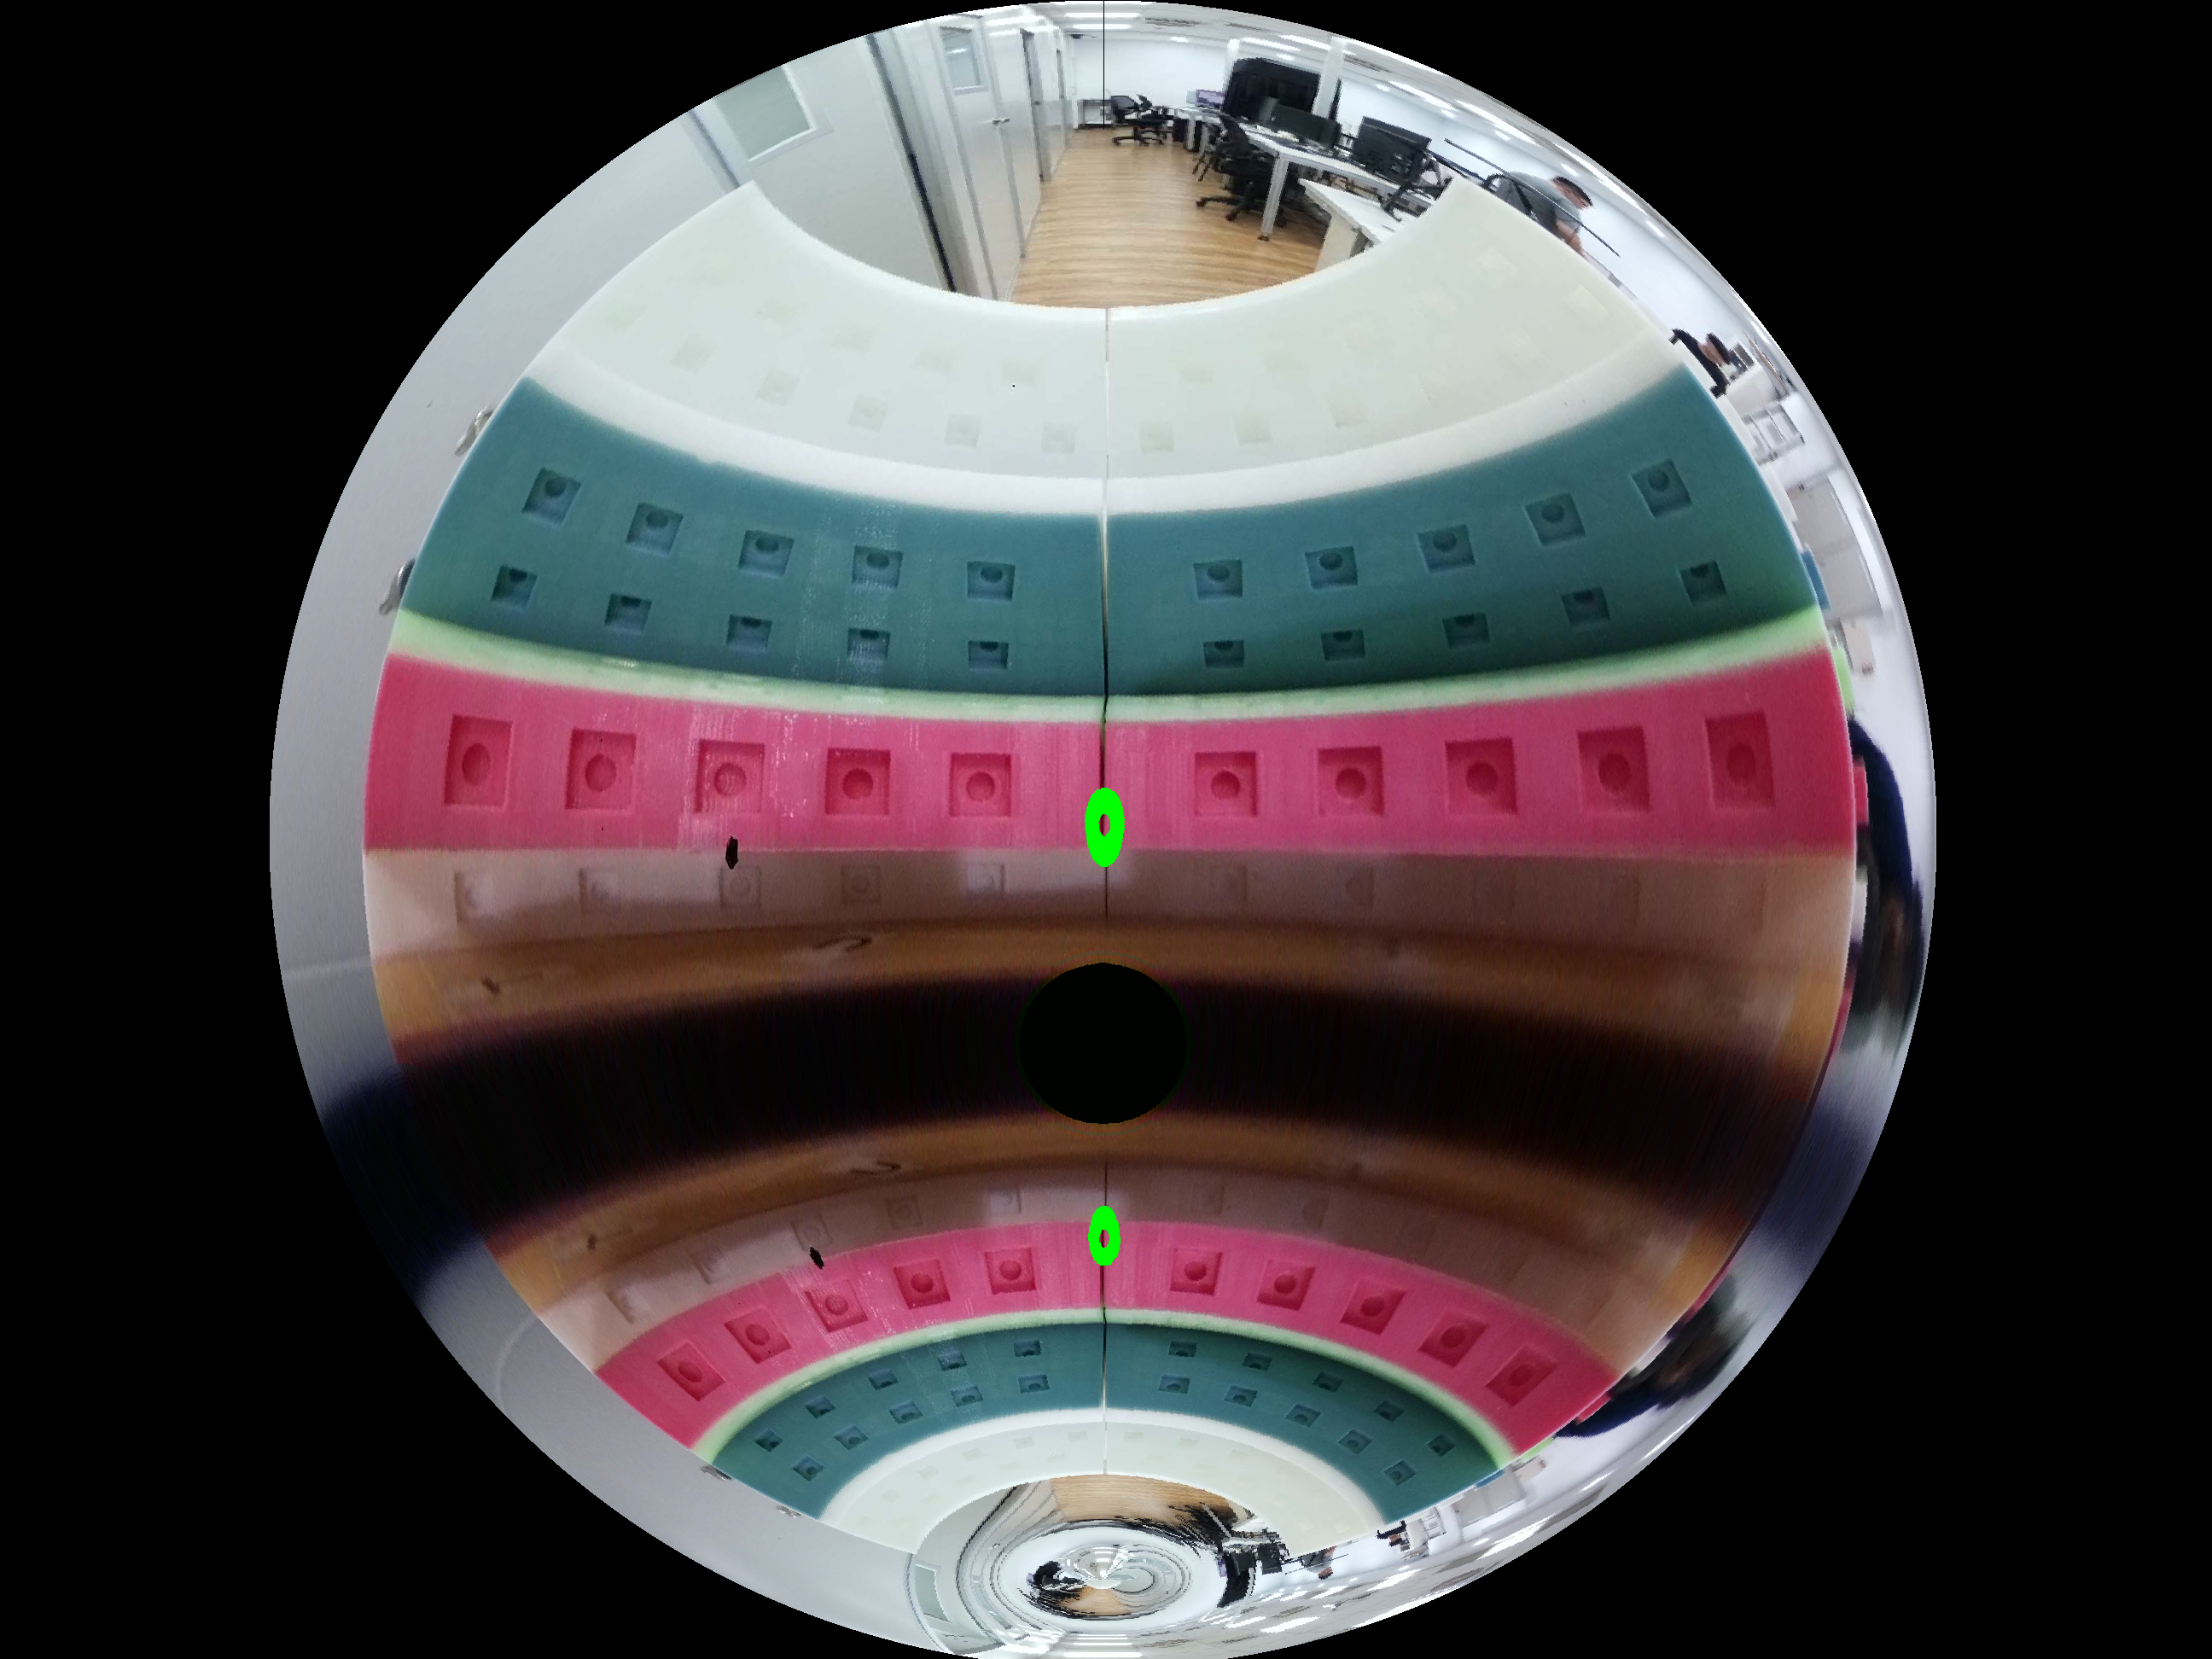
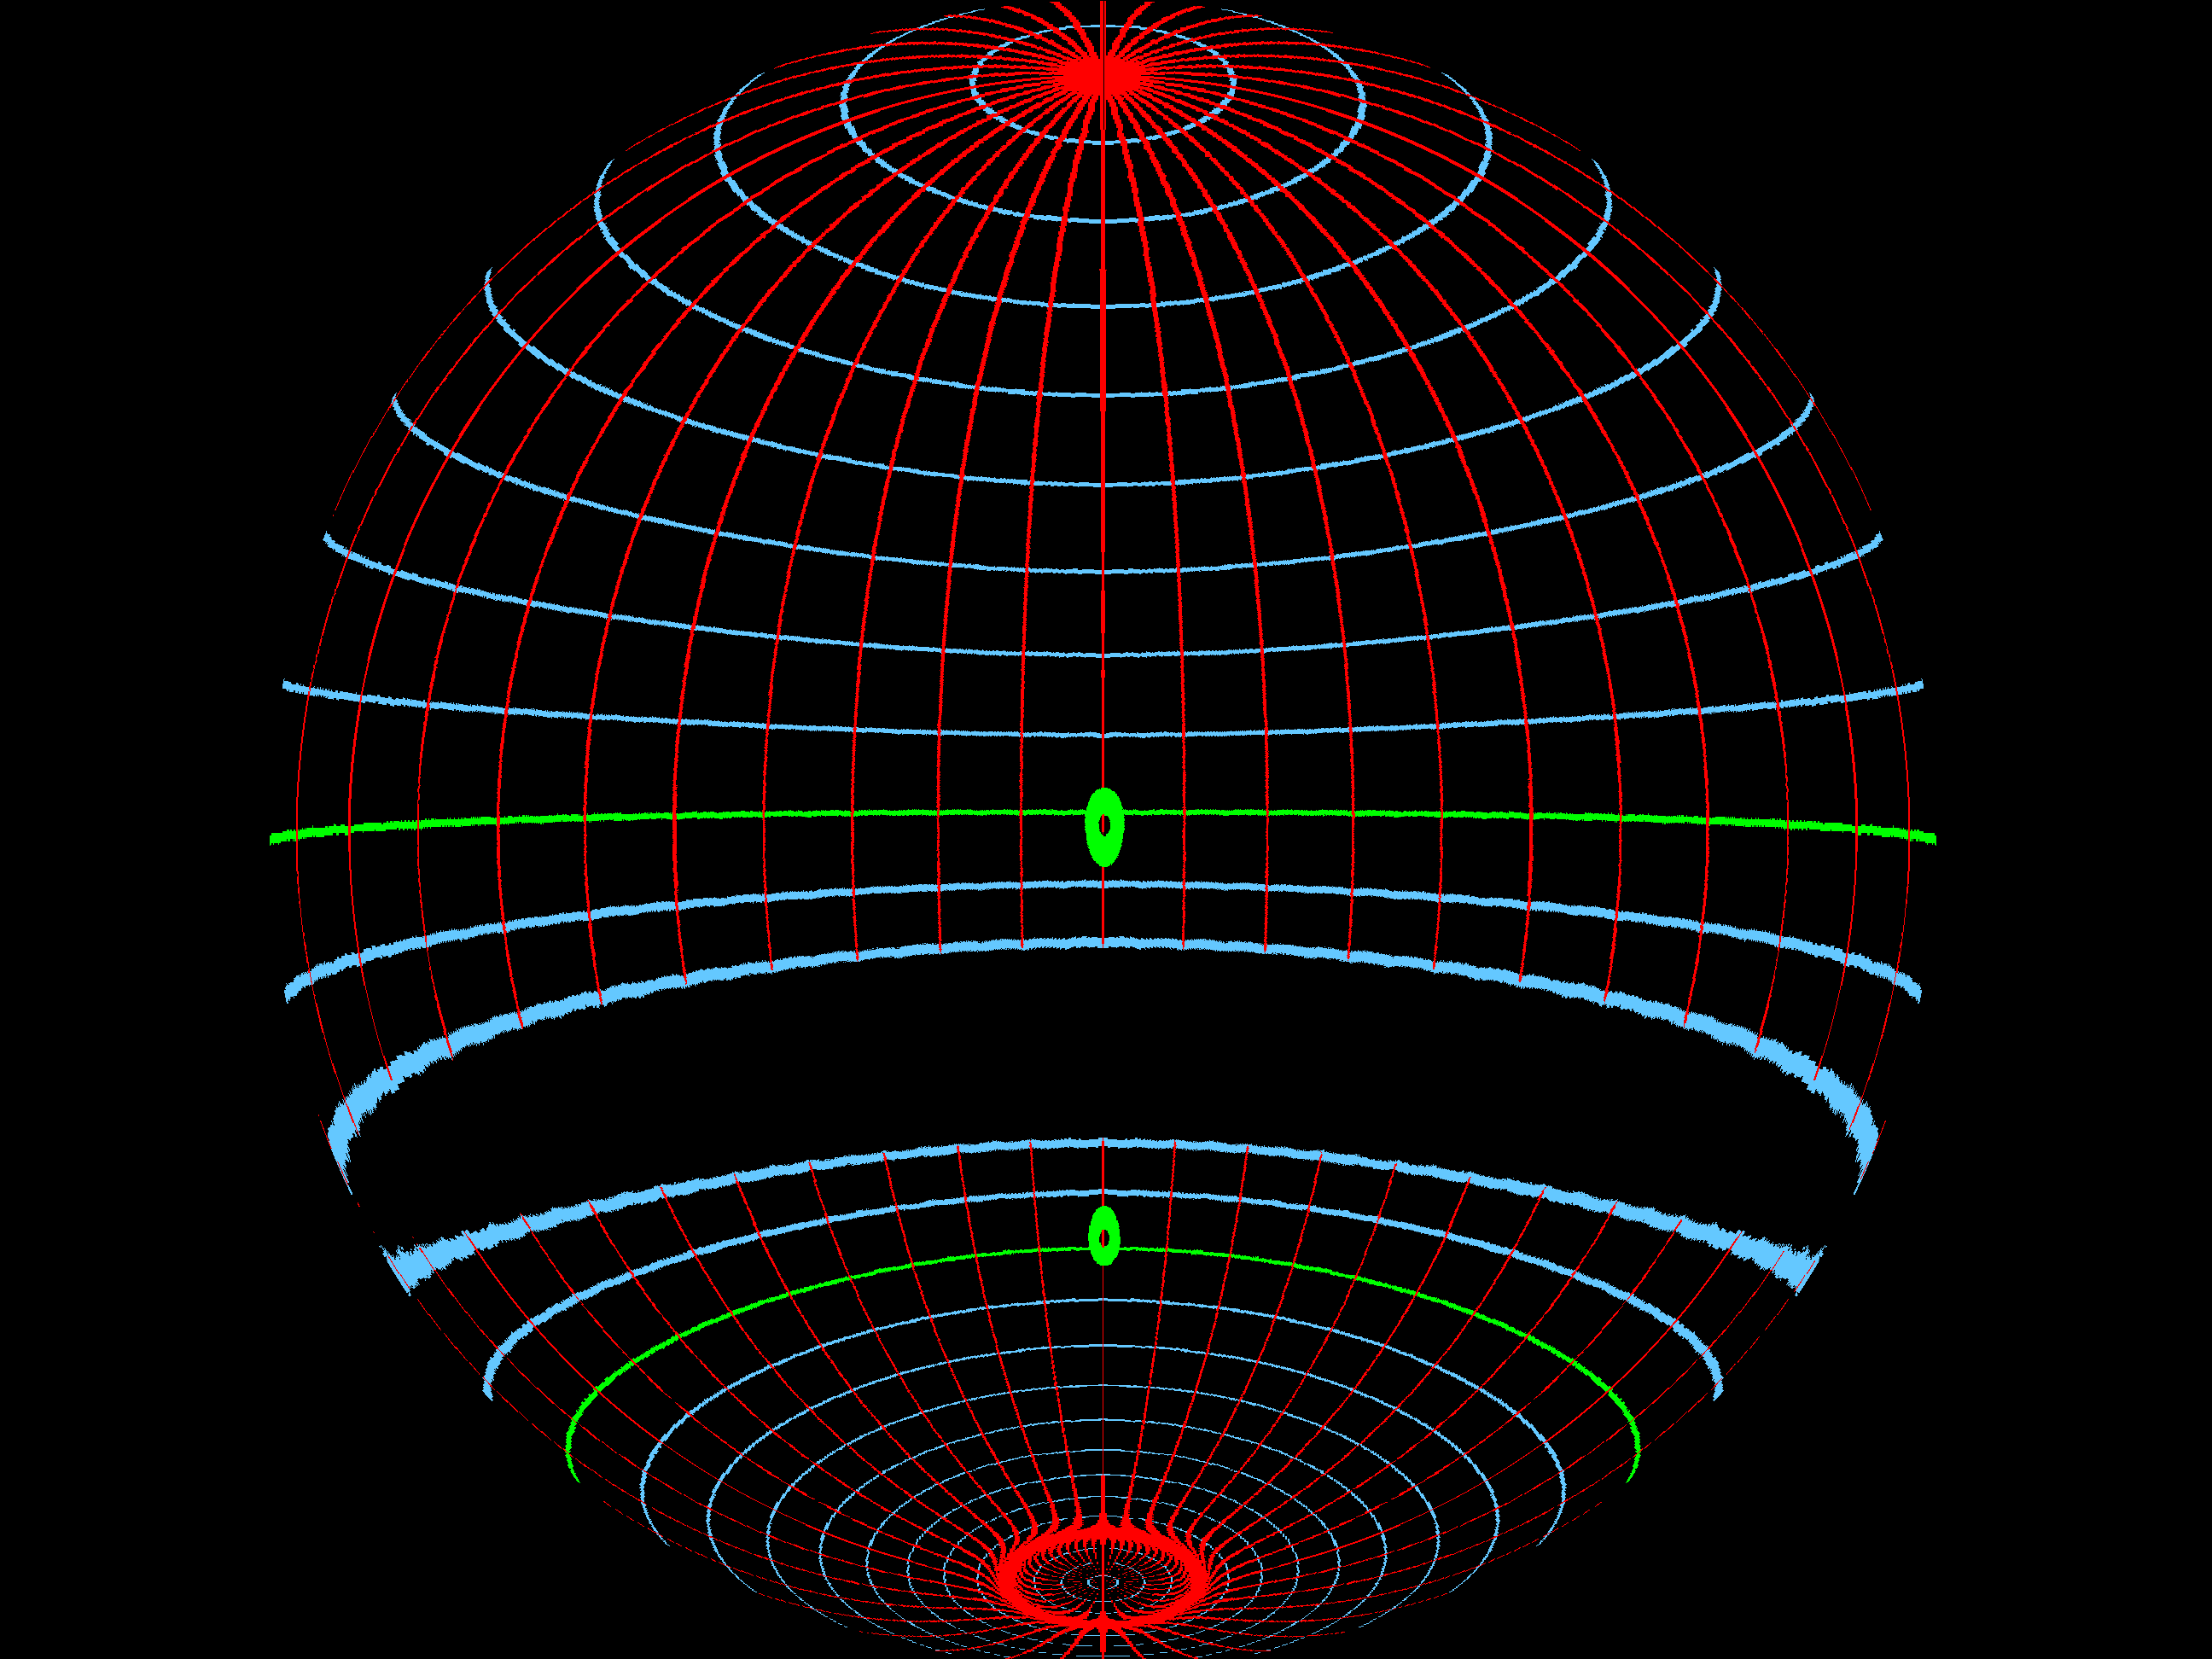
Below is an example of a fisheye image. We are providing two images: the first one is from an experiment, and the second one is created based on the given parameter. Both images have a field of view of 220 degrees.
|
|
Fisheye image from experiment |
Phantom fisheye image |
Create maps anypoint mode 1
This function serves to generate a set of X-Y Maps based on the provided alpha, beta, and zoom parameters. These maps are then used to remap the original fisheye image to the desired angle image. The function specifically creates maps for the “anypoint mode 1” which is ideal for tube applications. Below are some examples showcasing how this function can be used.
map_X, map_Y = moildev.maps_anypoint_mode1(alpha, beta, zoom)
Example:
map_X, map_Y = moildev.maps_anypoint_mode1(90, 180, 2)
anypoint_maps_m1 = cv2.remap(image, map_X, map_Y, cv2.INTER_CUBIC)
anypoint_maps_m1 = cv2.resize(anypoint_maps_m1, (400, 300))
cv2.imshow("anypoint using maps mode 1", anypoint_maps_m1)
Create anypoint mode 1
This function generates an anypoint view mode 1 image. The resulting image is rotated by beta degrees around the Z-axis (roll) after an alpha degree rotation around the X-axis (pitch). To use this function, you’ll need to provide an image as a parameter, and it will return the remapped image as the result. Below, you’ll find an example implementation to help you understand how to use it.
anypoint_m1 = moildev.anypoint_mode1(image, alpha, beta, zoom)
Example:
anypoint_m1 = moildev.anypoint_mode1(image, 90, 180, 2)
anypoint_m1 = cv2.resize(anypoint_m1, (400, 300))
cv2.imshow("anypoint mode 1", anypoint_m1)
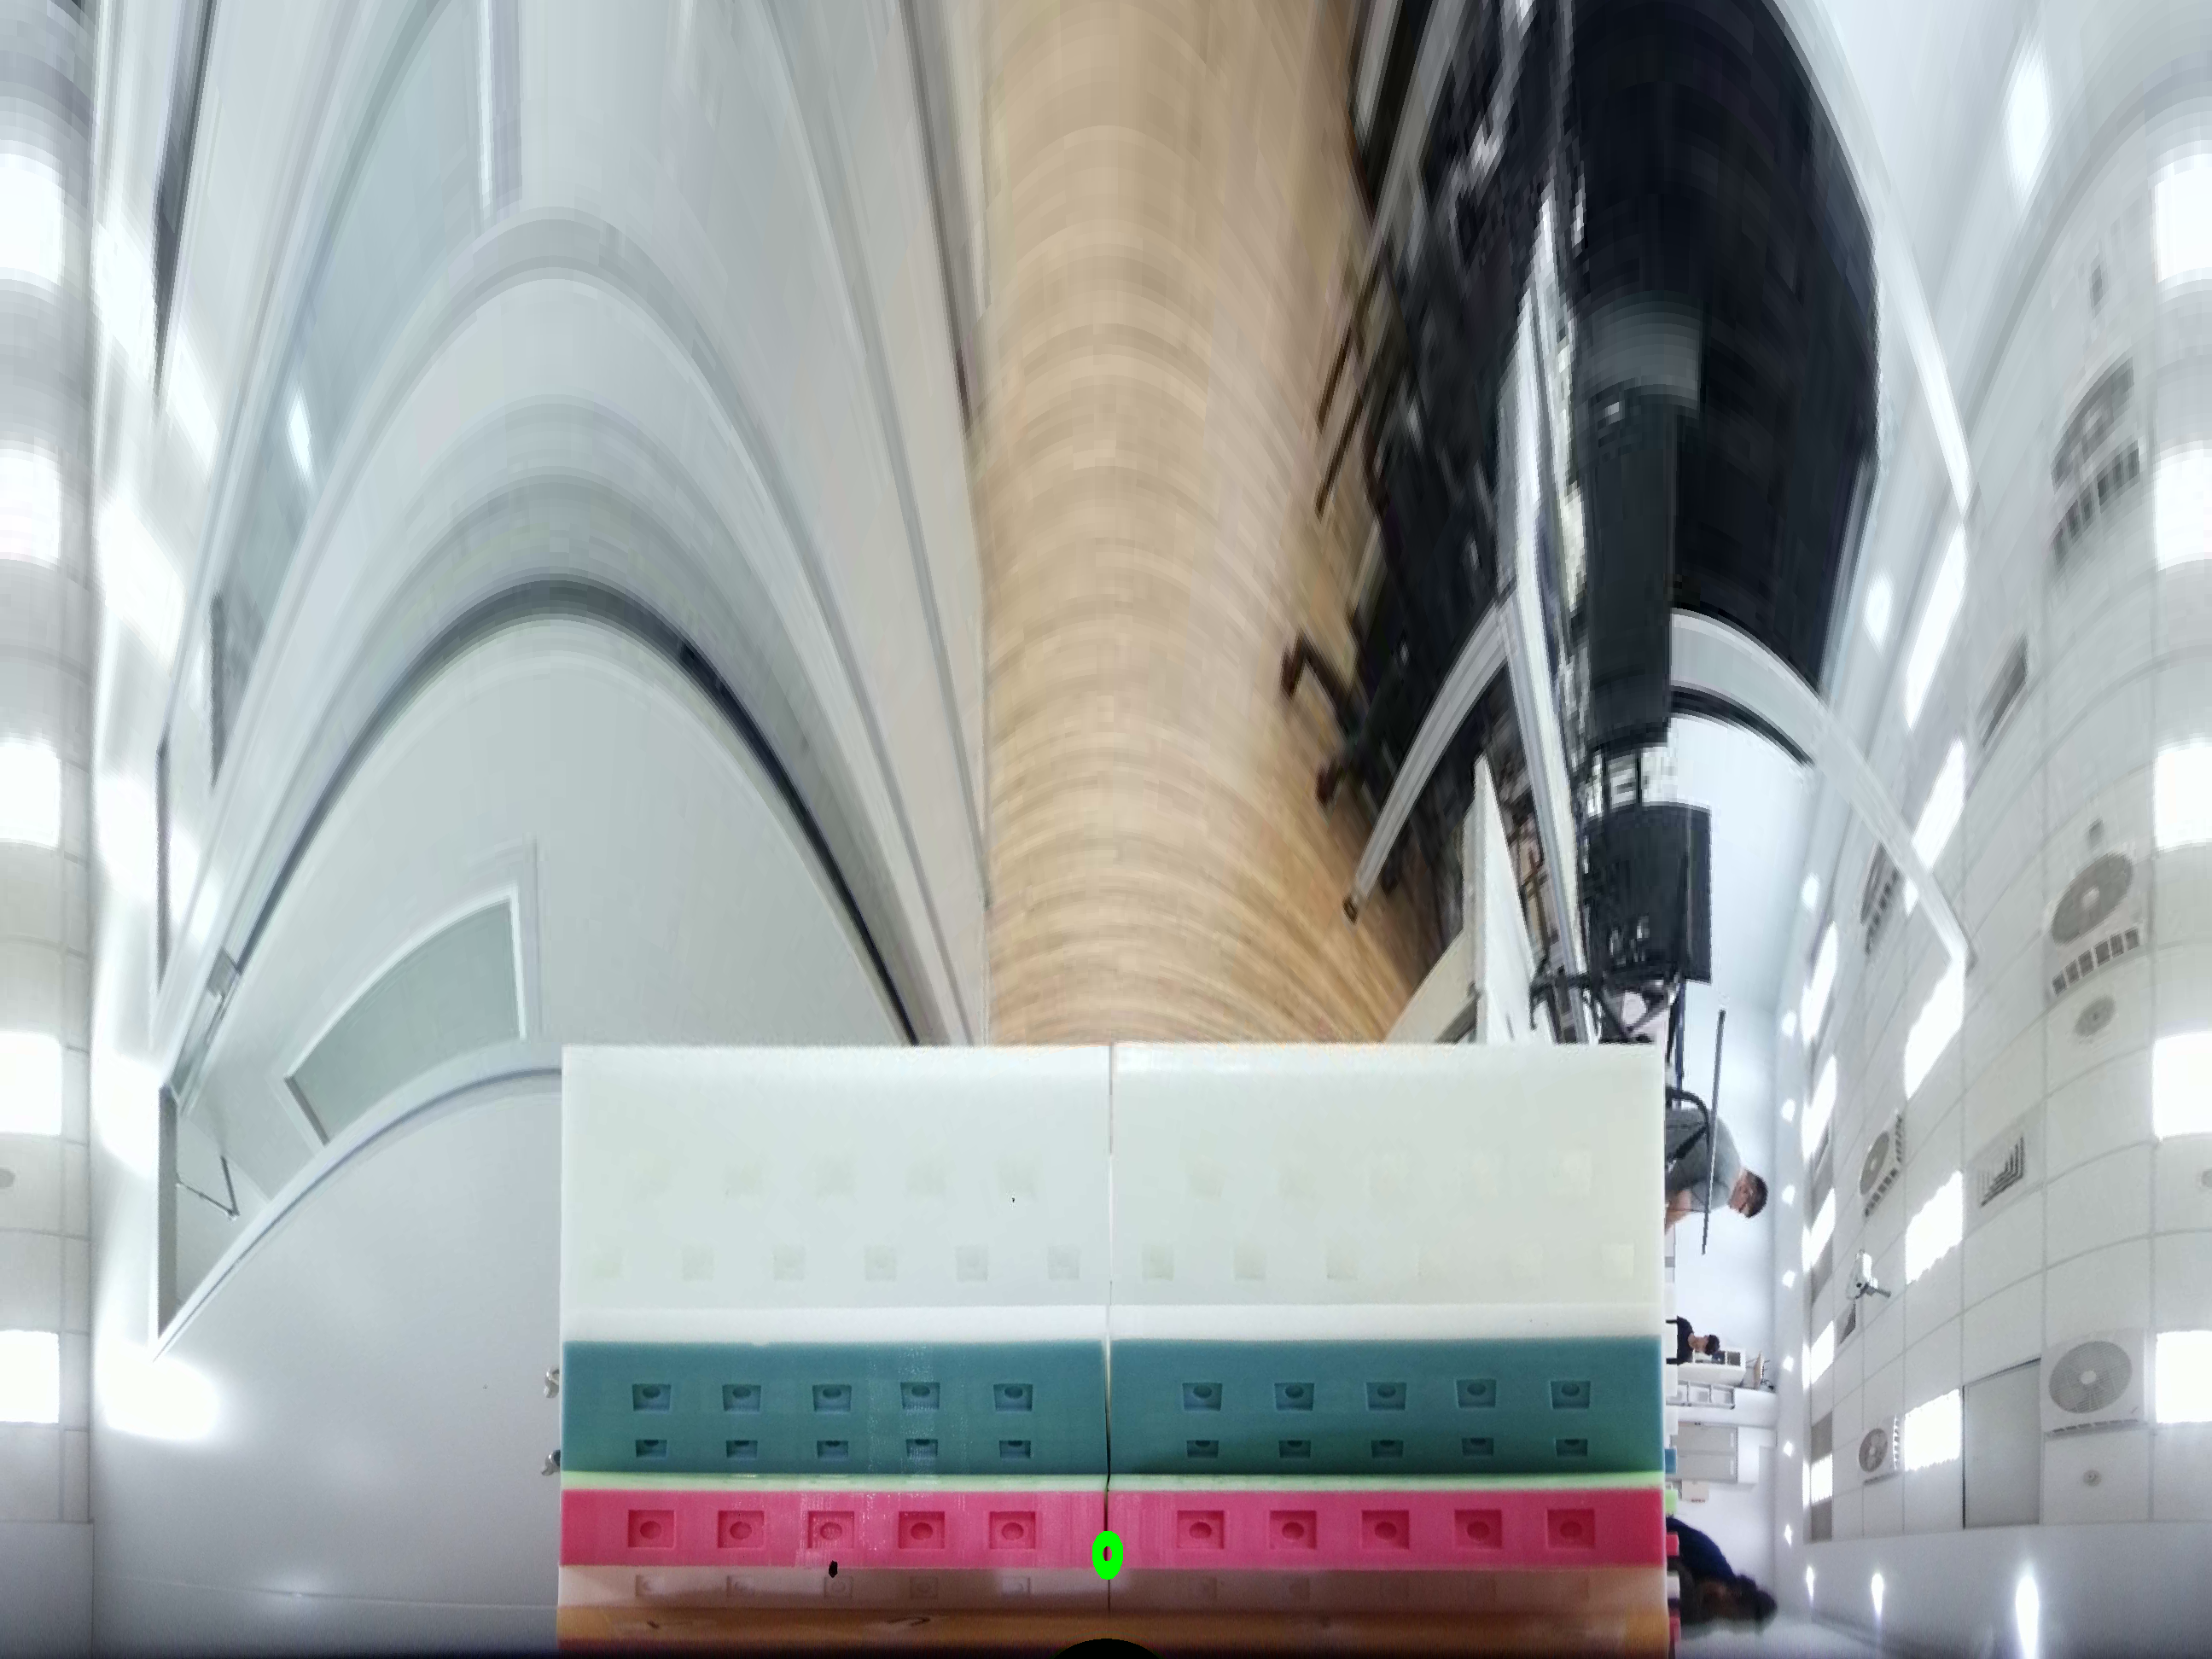
Here is the resulting image obtained after applying the anypoint mode 1 processing. This image showcases the outcome achieved through the use of the anypoint mode 1 algorithm.
|
|
Fisheye image from experiment |
result from Phantom fisheye image |
Create maps anypoint mode 2
This function is designed to generate a set of X-Y Maps based on the provided pitch, yaw, roll, and zoom parameters. These maps are then used to remap the original fisheye image to the desired target image. By utilizing these X-Y Maps, the function allows for precise and accurate adjustments to the perspective of the fisheye image, ensuring that the final result aligns with the intended visual specifications.
map_X, map_Y = moildev.maps_anypoint_mode2(pitch, yaw, roll, zoom)
Example:
map_X, map_Y = moildev.maps_anypoint_mode2(-90, 0, 0, 2)
anypoint_maps_m2 = cv2.remap(image, map_X, map_Y, cv2.INTER_CUBIC)
anypoint_maps_m2 = cv2.resize(anypoint, (400, 300))
cv2.imshow("anypoint maps mode 2" anypoint_maps_m2)
Create anypoint mode 2
This function generates an anypoint view mode 2 image. To use this function, you’ll need to provide an image as a parameter, and it will return the remapped image as the result. Below, you’ll find an example implementation to help you understand how to use it.
anypoint_m2 = moildev.anypoint_mode2(image, pitch, yaw, roll, zoom)
Example:
anypoint_m2 = moildev.anypoint_mode2(image, -90, 0, 0, 2)
anypoint_m2 = cv2.resize(anypoint_m2, (400, 300))
cv2.imshow("anypoint mode 2", anypoint_m2)
Here is the resulting image obtained after applying the anypoint mode 2 processing. This image showcases the outcome achieved through the use of the anypoint mode 2 algorithm.
|
|
Fisheye image from experiment |
Phantom fisheye image |

Create panorama tube
This function enables the creation of an image with a panoramic view. It allows you to capture a wide-angle perspective, providing a seamless and immersive visual experience.
panorama_tube = moildev.panorama_tube(image, alpha_min, alpha_max)
Example:
panorama_tube = moildev.panorama_tube(image, 10, 110)
panorama_tube = cv2.resize(panorama_tube, (400, 300))
cv2.imshow("panorama tube", panorama_tube)
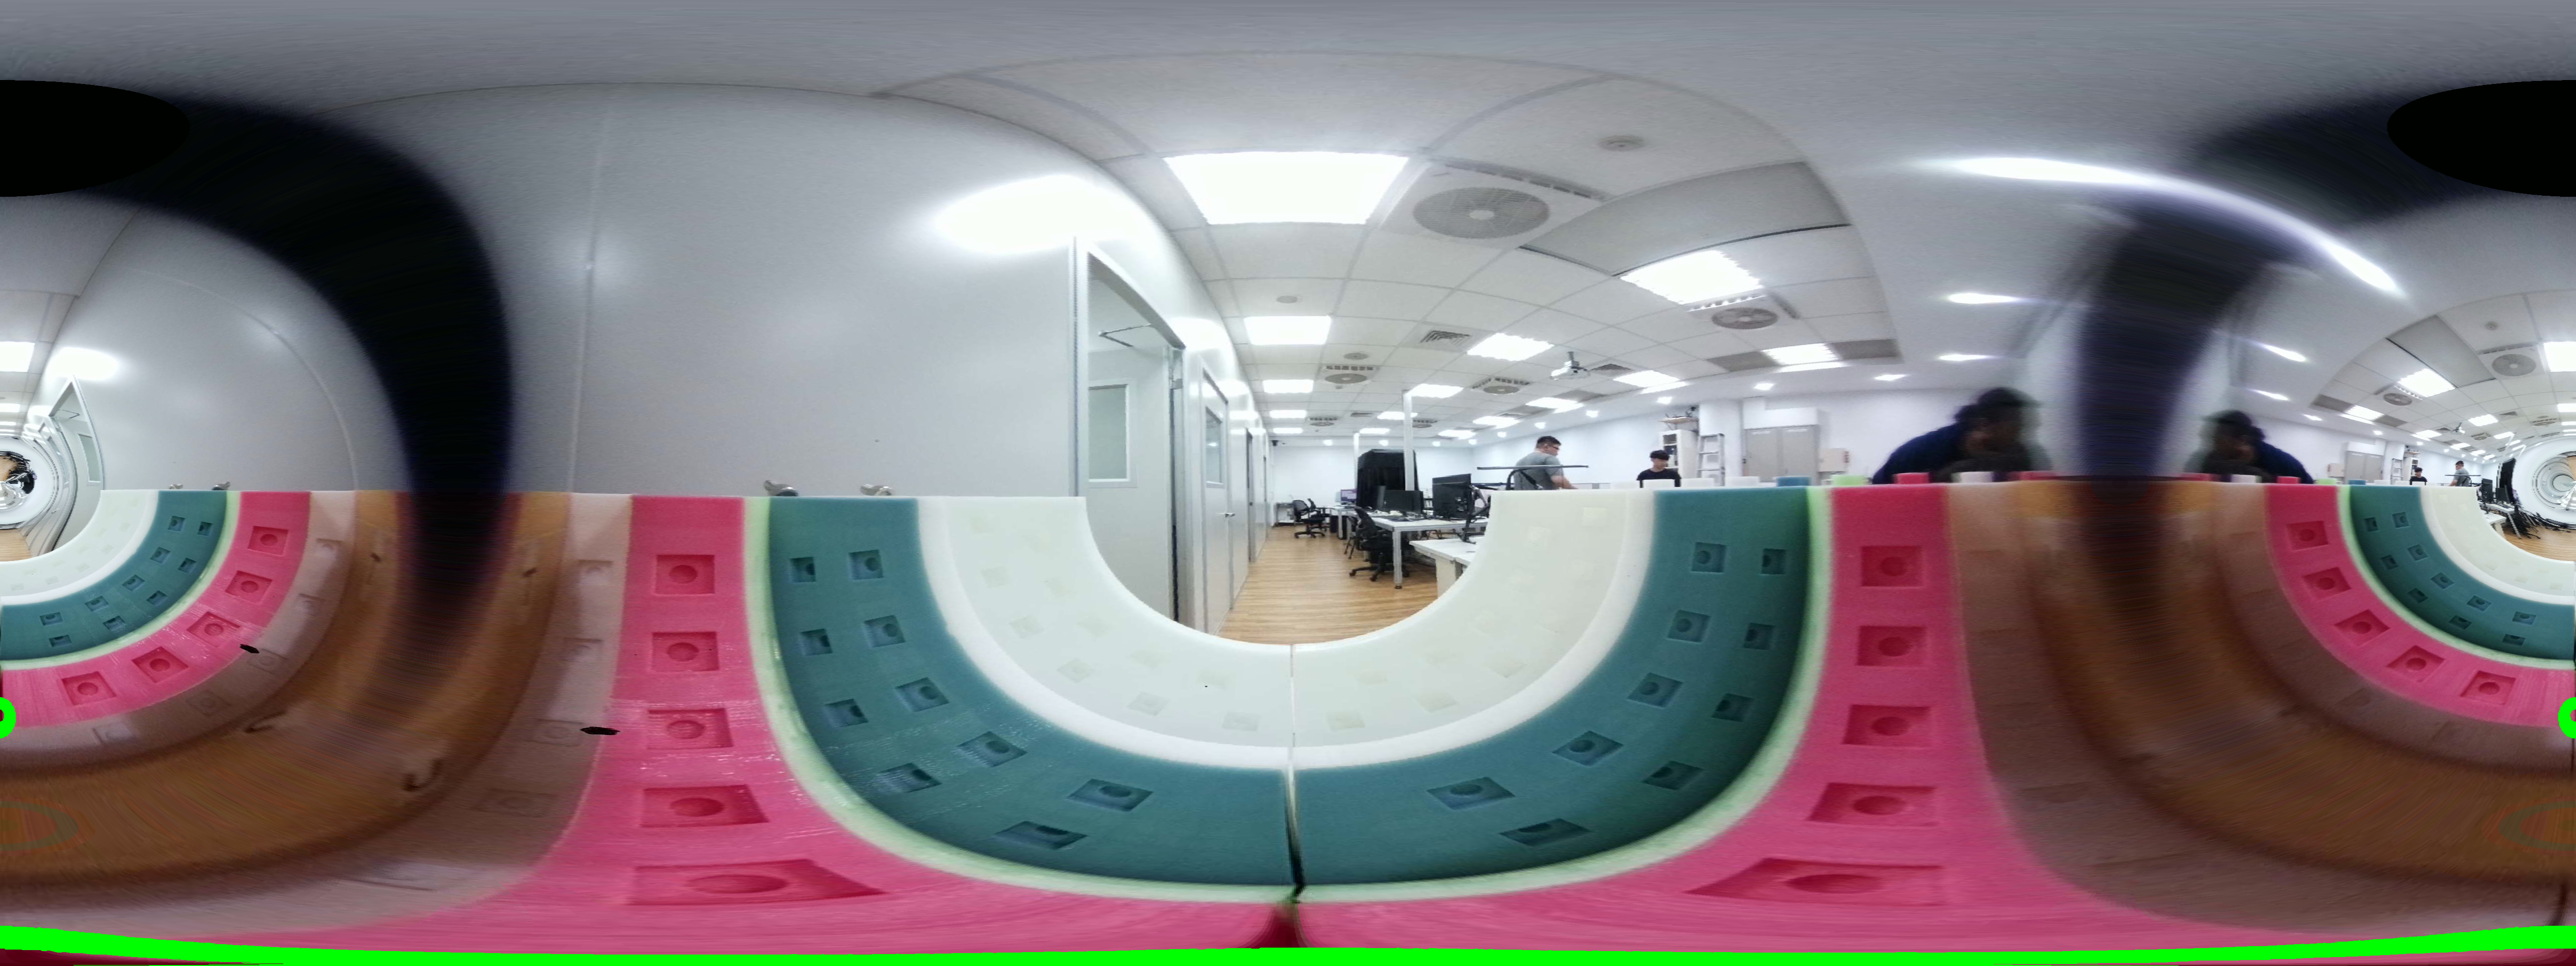
Here is the resulting image obtained after applying the panorama tube processing. This image showcases the outcome achieved through the use of the panorama tube algorithm.
|
|
Fisheye image from experiment |
Phantom fisheye image |
Create panorama car
This function is designed to generate a panorama image from a fisheye camera. You can control the image’s pitch direction by adjusting the alpha parameter and the yaw direction by modifying the beta parameter. Additionally, to select a specific region of interest (ROI), you have the flexibility to adjust the left, right, top, and bottom parameters. This enables you to precisely customize and tailor the resulting panorama image to suit your specific requirements and preferences.
panorama_car = moildev.panorama_car(image, alpha_max, alpha, beta, left, right, top, bottom)
Example:
panorama_car = moildev.panorama_car(image, 180, 80, 0, 0.25, 0.75, 0, 1)
panorama_car = cv2.resize(panorama_car, (400, 300))
cv2.imshow("panorama car", panorama_car)
Here is the resulting image obtained after applying the panorama car processing. This image showcases the outcome achieved through the use of the panorama car algorithm.
|
|
Fisheye image from experiment |
Phantom fisheye image |
Create recenter image
This function serves a crucial purpose in the realm of fisheye image processing by facilitating the alteration of the optical point. It allows users to redefine the center of view, offering the ability to shift the focal point or pivot of the fisheye image. This feature proves invaluable for various applications, as it empowers developers and creatives to fine-tune the perspective and focus of their fisheye images according to their specific needs and artistic vision. Whether it involves adjusting the field of view or repositioning the optical center, this function unlocks a world of possibilities and unleashes the full potential of fisheye image processing.
recenter = moildev(image, alpha_max, IC_alpha_degree, IC_beta_degree)
Example:
recenter = moildev.recenter(image, 110, 25, 10)
recenter = cv2.resize(recenter, (400, 300))
cv2.imshow("show recenter", recenter)
Here is the resulting image obtained after applying the recenter optical point processing. This image showcases the outcome achieved through the use of the recenter optical point algorithm.
|
|
Fisheye image from experiment |
Phantom fisheye image |
~Perseverance Technology~