Moil Meeting Installation Guide
This guide provides step-by-step instructions to install and run the Moil Meeting application.
Operating System Requirements
Windows
Download and install OBS Studio .
After installation, open OBS and click Start Virtual Camera.
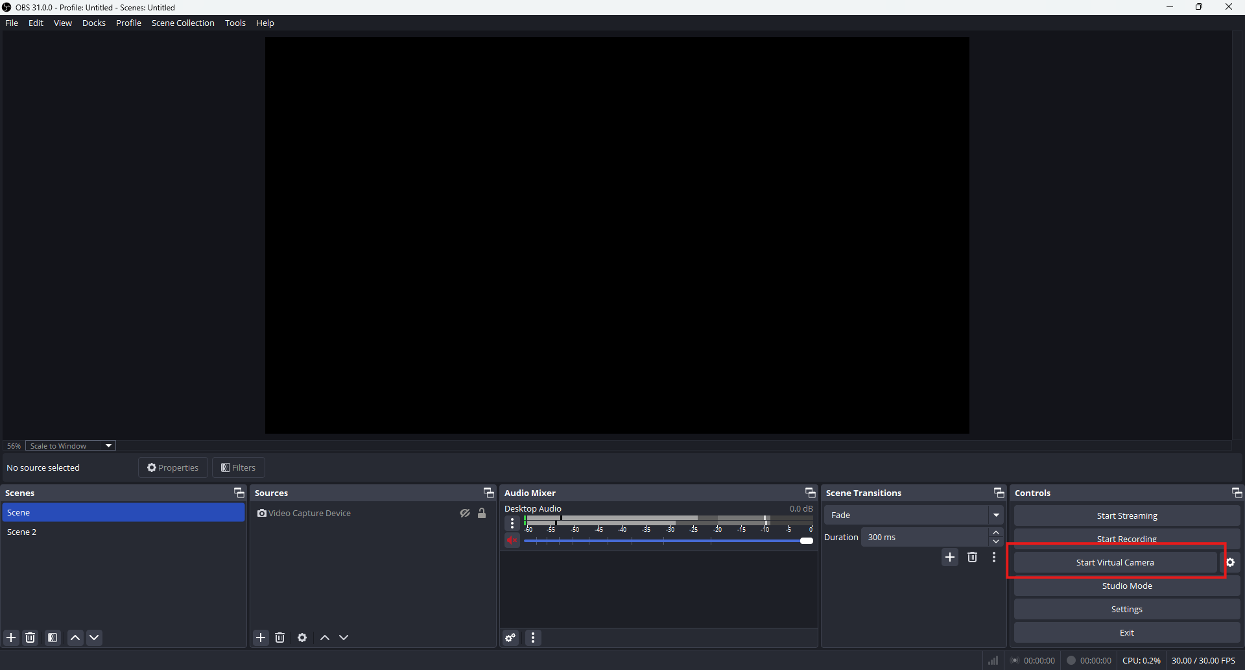
Start Camera in OBS
To stop using OBS, simply close the application.
Linux
Disable Secure Boot in BIOS.
Install
v4l2loopbackwith the following command:sudo apt install v4l2loopback-dkms
User Installation Guide
Download Moil Meeting
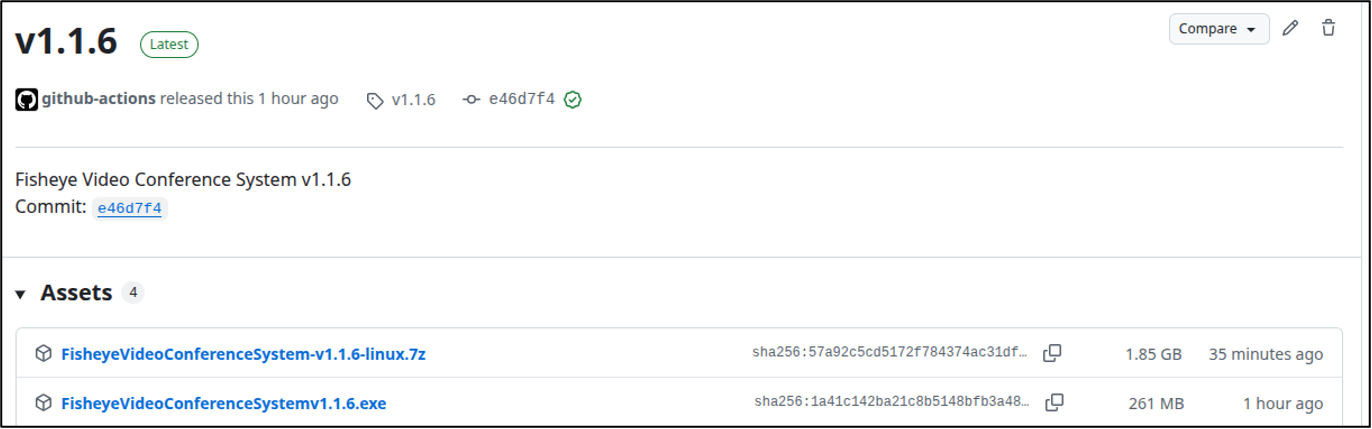
Go to the GitHub repository of Video Conference.
Navigate to Releases.
Download:
FisheyeVideoConferenceSystem-v1.1.6.exefor WindowsFisheyeVideoConferenceSystem-v1.1.6-linux.7zfor Linux
Windows Installation
Right-click the installer file → Run as Administrator.
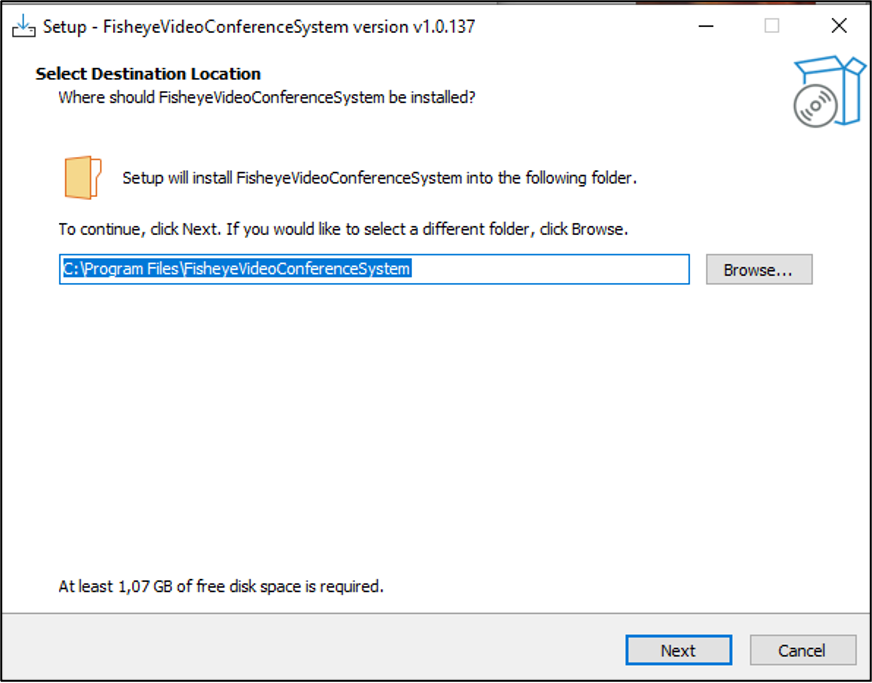
Follow the wizard by clicking Next.
Choose installation directory → click Next.
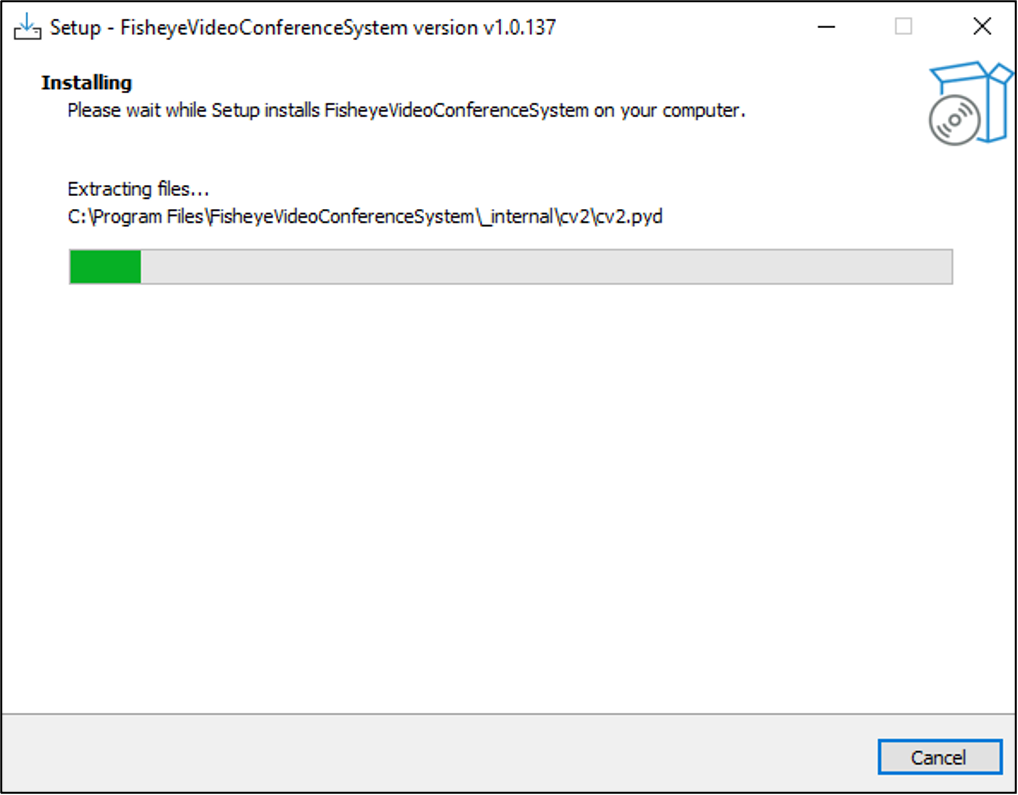
Wait for installation to complete.
You will find the program in the selected folder:
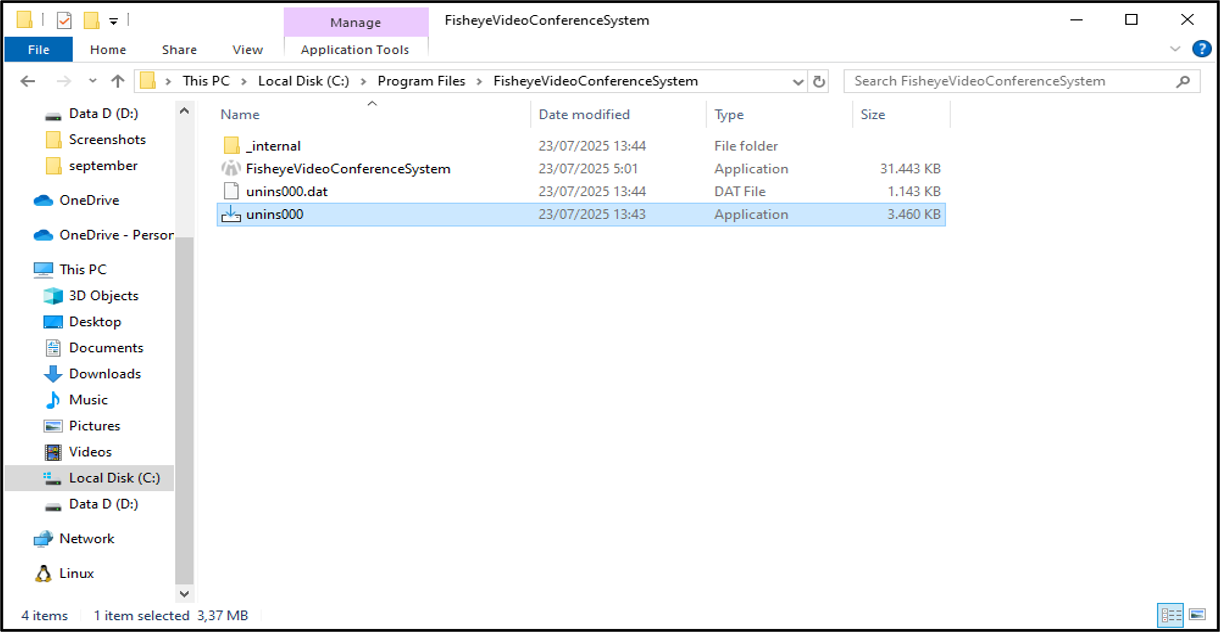
FisheyeVideoConference.exe→ to run the appunins000→ to uninstall
After everything is set up, you are ready to use the Fisheye Video Conference system.
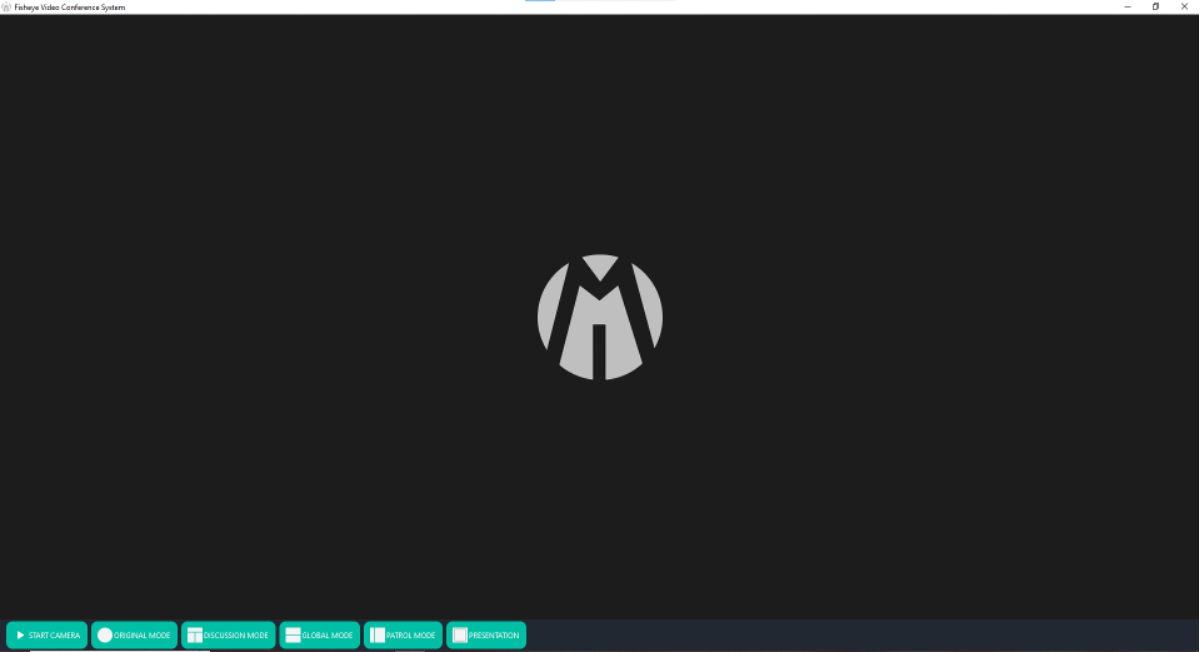
Moil Meeting Application
Linux Installation
Extract the
.7zarchive.Navigate into the extracted folder until you find
install.shanduninstall.sh.Run:
./install.sh   # to install
./uninstall.sh # to uninstall
Once installed, the app will appear on your desktop.
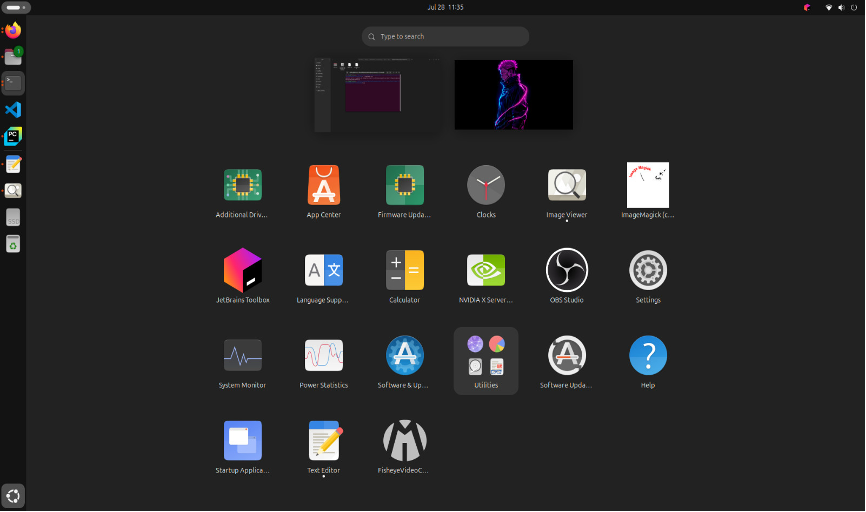
Linux Moil Meeting Application
Developer Installation Guide
Requirements:
Ubuntu or Windows
Python >= 3.7
Git installed
Clone the Repository
git clone https://github.com/username/video-conference-using-fisheye.git
cd video-conference-using-fisheye
Create Virtual Environment
Before installing the library requirements, you should upgrade the existing PIP package to the latest version. You can use the command:
$ pip instal --upgrade pip
Check Python and pip:
python --version
pip --version
Create and activate venv:
Windows:
python -m venv venv
venv\Scripts\activate
Linux/macOS:
python3 -m venv venv
source venv/bin/activate
Install Requirements
Install dependencies:
pip install opencv-python pyvirtualcam ultralytics pygrabber mediapipe
Verify installation by importing packages in Python:
import cv2
import pyvirtualcam
import ultralytics
import pygrabber
import mediapipe
print("All packages loaded successfully!")
Then, install everything at once by running:
pip install -r requirements.txt
Run the Application
Navigate to src folder and run:
python main.py
Or open in PyCharm:
Open PyCharm → Open Project → select repository root.
Configure interpreter → choose virtual environment created earlier.
Run
main.py.
Now you can use Video Conference Using Fisheye.